
You also want an ePaper? Increase the reach of your titles
YUMPU automatically turns print PDFs into web optimized ePapers that Google loves.
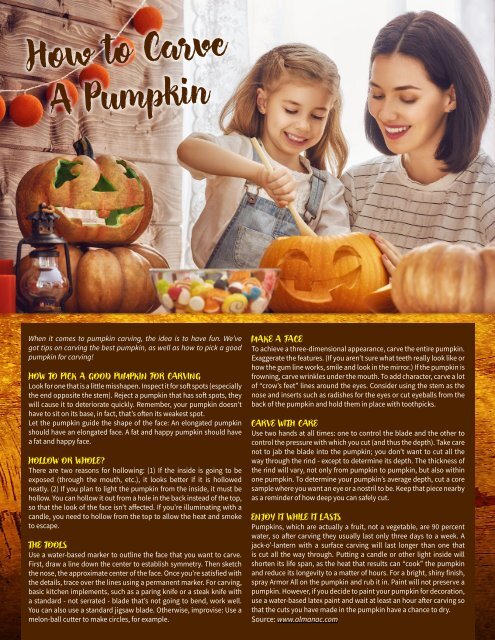
How to Carve<br />
A Pumpkin<br />
When it comes to pumpkin carving, the idea is to have fun. We’ve<br />
got tips on carving the best pumpkin, as well as how to pick a good<br />
pumpkin for carving!<br />
HOW TO PICK A GOOD PUMPKIN FOR CARVING<br />
Look for one that is a little misshapen. Inspect it for soft spots (especially<br />
the end opposite the stem). Reject a pumpkin that has soft spots, they<br />
will cause it to deteriorate quickly. Remember, your pumpkin doesn’t<br />
have to sit on its base, in fact, that’s often its weakest spot.<br />
Let the pumpkin guide the shape of the face: An elongated pumpkin<br />
should have an elongated face. A fat and happy pumpkin should have<br />
a fat and happy face.<br />
HOLLOW OR WHOLE?<br />
There are two reasons for hollowing: (1) If the inside is going to be<br />
exposed (through the mouth, etc.), it looks better if it is hollowed<br />
neatly. (2) If you plan to light the pumpkin from the inside, it must be<br />
hollow. You can hollow it out from a hole in the back instead of the top,<br />
so that the look of the face isn’t affected. If you’re illuminating with a<br />
candle, you need to hollow from the top to allow the heat and smoke<br />
to escape.<br />
THE TOOLS<br />
Use a water-based marker to outline the face that you want to carve.<br />
First, draw a line down the center to establish symmetry. Then sketch<br />
the nose, the approximate center of the face. Once you’re satisfied with<br />
the details, trace over the lines using a permanent marker. For carving,<br />
basic kitchen implements, such as a paring knife or a steak knife with<br />
a standard - not serrated - blade that’s not going to bend, work well.<br />
You can also use a standard jigsaw blade. Otherwise, improvise: Use a<br />
melon-ball cutter to make circles, for example.<br />
24<br />
MAKE A FACE<br />
To achieve a three-dimensional appearance, carve the entire pumpkin.<br />
Exaggerate the features. (If you aren’t sure what teeth really look like or<br />
how the gum line works, smile and look in the mirror.) If the pumpkin is<br />
frowning, carve wrinkles under the mouth. To add character, carve a lot<br />
of “crow’s feet” lines around the eyes. Consider using the stem as the<br />
nose and inserts such as radishes for the eyes or cut eyeballs from the<br />
back of the pumpkin and hold them in place with toothpicks.<br />
CARVE WITH CARE<br />
Use two hands at all times: one to control the blade and the other to<br />
control the pressure with which you cut (and thus the depth). Take care<br />
not to jab the blade into the pumpkin; you don’t want to cut all the<br />
way through the rind - except to determine its depth. The thickness of<br />
the rind will vary, not only from pumpkin to pumpkin, but also within<br />
one pumpkin. To determine your pumpkin’s average depth, cut a core<br />
sample where you want an eye or a nostril to be. Keep that piece nearby<br />
as a reminder of how deep you can safely cut.<br />
ENJOY IT WHILE IT LASTS<br />
Pumpkins, which are actually a fruit, not a vegetable, are 90 percent<br />
water, so after carving they usually last only three days to a week. A<br />
jack-o’-lantern with a surface carving will last longer than one that<br />
is cut all the way through. Putting a candle or other light inside will<br />
shorten its life span, as the heat that results can “cook” the pumpkin<br />
and reduce its longevity to a matter of hours. For a bright, shiny finish,<br />
spray Armor All on the pumpkin and rub it in. Paint will not preserve a<br />
pumpkin. However, if you decide to paint your pumpkin for decoration,<br />
use a water-based latex paint and wait at least an hour after carving so<br />
that the cuts you have made in the pumpkin have a chance to dry.<br />
Source: www.almanac.com<br />
<strong>October</strong> <strong>2017</strong> | <strong>Fulshear</strong> Community Newsletter