ABT20PANEL_I_E_No1_9720342
You also want an ePaper? Increase the reach of your titles
YUMPU automatically turns print PDFs into web optimized ePapers that Google loves.
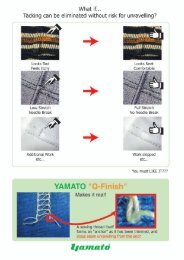
7. Starting backtacking<br />
Before proceeding:<br />
1 Set the power to ON. (On the motor box display, only the needle up/down lamp lights up. All other lamps are OFF.)<br />
Needle up/down lamp<br />
2 Set to OFF (manual) as shown in the figure below.<br />
P ○<br />
S1 ○<br />
S2 ○<br />
1: ABT OFF<br />
■<br />
▲ □ □ T ▲ □<br />
P<br />
▼ □ □ R ▼ □<br />
D<br />
Use these buttons to<br />
enter the setting values.<br />
3 Set the machine speed using parameter C01.<br />
4 Set the chaining off speed selection to ON using parameter C03.<br />
5 Set the chaining off speed using parameter C02. ⇒ Set the speed to 5,500 to 6,000 rpm if the machine<br />
speed (for actual sewing) is less than 5,000 rpm.<br />
6 Adjust on the stitch length and differential ratio using the<br />
fabric.<br />
7 Set to OFFK (manual, K2 air stop) as shown in the figure<br />
on the right.<br />
8 Adjust the soft thread chain using the upper thread tension<br />
spring caps as shown in figure 1 below.<br />
Note: The thread tension of the thread chain must be re<br />
adjusted because it differs depending on the type of<br />
thread used and the sewing speed.<br />
S1 ○<br />
1: ABT OFF‐K<br />
■<br />
▲ □ □ T ▲ □<br />
P<br />
▼ □ □ R ▼ □<br />
D<br />
Use these buttons to<br />
enter the setting values.<br />
1<br />
2<br />
O<br />
ON<br />
Adjust the thread chain condition.<br />
Adjust the stitch condition<br />
* This completes the preparations for backtacking.<br />
7


