

QUILTsocial | Issue 10
Welcome to a new issue of QUILTsocial! I'm so excited to share with you tips, tutorials and product reviews in this issue and I'm even more excited you'll be able to download it for future reference! Among the several projects 5 of them are created by playing with rulers: a square, a triangle and a circular cutter. My favorite is the triangle ruler, as it simplifies and shortens the time it takes to make half square triangles, substantially. Another must-read feature is about using the lowly placemat as a creative platform and learning tool to discover different quilting techniques and embroidery possibilities. Also you don't want to miss the 9 essential tools for successful quilting on your domestic machine, guidelines that will change your quilting possibilities. Let me highlight one more, you know those quilt panels you love so much and hate to cut up into a quilt? We offer tips about how to cut these so the images are highlighted instead of lost. Enjoy exploring everything else there is in this amazing issue.
Welcome to a new issue of QUILTsocial! I'm so excited to share with you tips, tutorials and product reviews in this issue and I'm even more excited you'll be able to download it for future reference! Among the several projects 5 of them are created by playing with rulers: a square, a triangle and a circular cutter. My favorite is the triangle ruler, as it simplifies and shortens the time it takes to make half square triangles, substantially. Another must-read feature is about using the lowly placemat as a creative platform and learning tool to discover different quilting techniques and embroidery possibilities. Also you don't want to miss the 9 essential tools for successful quilting on your domestic machine, guidelines that will change your quilting possibilities. Let me highlight one more, you know those quilt panels you love so much and hate to cut up into a quilt? We offer tips about how to cut these so the images are highlighted instead of lost. Enjoy exploring everything else there is in this amazing issue.

You also want an ePaper? Increase the reach of your titles
YUMPU automatically turns print PDFs into web optimized ePapers that Google loves.
9. Pin quilt sashing strip in place.<br />
<strong>10</strong>. Flip quilt over to the right side and<br />
stitch in the ditch of the embroidered<br />
block and the sashing strip.<br />
Note: The picture shows stitching in white<br />
thread so you can visualize the stitching.<br />
By using the same colour thread as the<br />
sashing strip the stitching disappears.<br />
11. Repeat steps 2 and 3 above to join<br />
the block into rows.<br />
Note: Don't worry about perfect joins of<br />
the seams where 4 blocks join together<br />
you will be covering the join with an<br />
appliquéd 4 patch block.<br />
Join Rows of Blocks<br />
1. Sew the horizontal sashing strips to<br />
the back of the quilt. Sashing strips<br />
will be attached to the bottom of the<br />
blocks in row 1, 2 and 3.<br />
2. Lay the raw edge of the quilt back<br />
sashing strip to the back of the first<br />
row of quilt blocks.<br />
3. Stitch in place, making sure to keep<br />
the front sashing out of the way.<br />
4. Repeat for rows 2 and 3.<br />
5. When a back of quilt sashing strip is<br />
attached it should fold over to hide<br />
the seam join.<br />
6. Pin back of quilt sashing strip in place.<br />
7. Flip quilt over to the right side and<br />
stitch in the ditch of the embroidered<br />
block and the sashing strip.<br />
Final Assembly of Quilt<br />
1. Lay strip of quilt batting 3” x width<br />
of quilt to the wrong side of quilt<br />
border strip (top and bottom). Use<br />
505 adhesive spray to hold in place<br />
if desired.<br />
2. Lay strip of quilt batting 3” by length<br />
of quilt to the wrong side of quilt<br />
border strip (left and right side). Use<br />
505 spray to hold in place if desired.<br />
3. Fold 8” x 45” fabric strip in half to form<br />
4” x 45” strip.<br />
4. Stitch raw edges backing fabric strip<br />
to the edges of the outside quilt<br />
border strip, in this order: top edge,<br />
bottom edge, left side, right side.<br />
5. Fold and press to the back of the<br />
quilt.<br />
6. Stitch in the ditch from the right<br />
side of the quilt to secure quilt<br />
facing in place.<br />
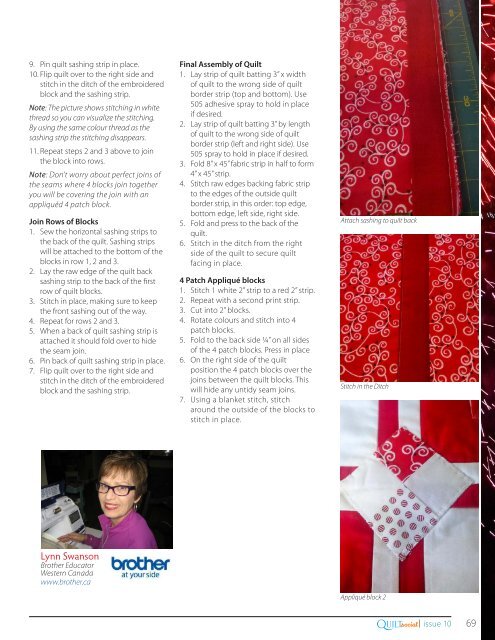
4 Patch Appliqué blocks<br />
1. Stitch 1 white 2” strip to a red 2” strip.<br />
2. Repeat with a second print strip.<br />
3. Cut into 2” blocks.<br />
4. Rotate colours and stitch into 4<br />
patch blocks.<br />
5. Fold to the back side ¼” on all sides<br />
of the 4 patch blocks. Press in place<br />
6. On the right side of the quilt<br />
position the 4 patch blocks over the<br />
joins between the quilt blocks. This<br />
will hide any untidy seam joins.<br />
7. Using a blanket stitch, stitch<br />
around the outside of the blocks to<br />
stitch in place.<br />
Attach sashing to quilt back<br />
Stitch in the Ditch<br />
Lynn Swanson<br />
Brother Educator<br />
Western Canada<br />
www.brother.ca<br />
Appliqué block 2<br />
Q<br />
UILTsocial<br />
.com | issue <strong>10</strong> 69


