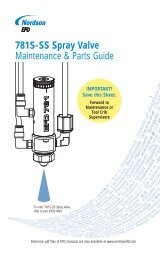
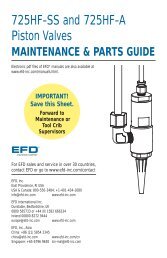
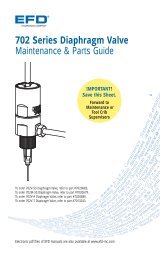
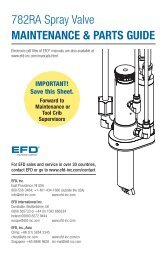
Ultimus™ I, II and III Dispensing Workstation - Nordson EFD
Ultimus™ I, II and III Dispensing Workstation - Nordson EFD
Ultimus™ I, II and III Dispensing Workstation - Nordson EFD

You also want an ePaper? Increase the reach of your titles
YUMPU automatically turns print PDFs into web optimized ePapers that Google loves.
16<br />
Initial Test<br />
Procedures<br />
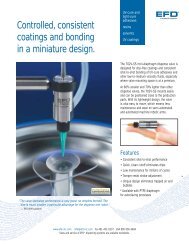
Deposit size is controlled by time, pressure <strong>and</strong> tip size.<br />
Please follow these instructions to test each function. Use the convenient Dot St<strong>and</strong>ards sheet<br />
included in your dispensing system kit.<br />
Setup for Testing<br />
1. Attach an <strong>EFD</strong> syringe barrel filled with your<br />
assembly fluid to the adapter assembly as<br />
shown.<br />
2. Keep the vacuum set at 0.0 during initial<br />
testing. (If you are dispensing a watery fluid,<br />
see Vacuum Control, page 14).<br />
3. Replace the blue tip cap with an <strong>EFD</strong><br />
precision dispense tip.<br />
4. Slide the syringe barrel into the h<strong>and</strong> grip. Snap in place.<br />
5. Run through the following tests to demonstrate the ease at which deposit sizes can be<br />
established using the various dispense modes.<br />
Testing in Steady Mode<br />
Select STEADY mode.<br />
Pull the air pressure regulator knob out until it clicks into the unlocked position. Start with<br />
pressure set to 0 psi (0.0 bar).<br />
Press <strong>and</strong> hold the foot pedal or finger switch.<br />
Slowly, turn the pressure knob clockwise until your fluid begins to dispense out of the tip in a<br />
controlled flow (not too fast, not too slow).<br />
Push the air pressure knob in to lock setting.<br />
Remember - always bring the<br />
tip in contact with the work<br />
surface at the illustrated angle.<br />
After the tip is in position, press<br />
the foot pedal. Release pedal <strong>and</strong><br />
remove tip by lifting straight up.<br />
45º<br />
Correct angle for<br />
consistent deposits.