GV-NVR GV - Security Camera Systems
GV-NVR GV - Security Camera Systems
GV-NVR GV - Security Camera Systems

Create successful ePaper yourself
Turn your PDF publications into a flip-book with our unique Google optimized e-Paper software.
3. Type the IP address, username and password of the IP camera. Keep<br />
or modify the default HTTP port 80. Select a camera brand and device<br />
from the drop-down list. This dialog box appears.<br />
Figure 7<br />
4. The options in the setup dialog box may vary depending on the camera<br />
brand.<br />
• Port: Video streaming port number.<br />
• Stream Type: You may have the option of single streaming only or<br />
both single and dual streaming.<br />
• Codec type: You may have the option of MPEG4, JPEG, or H.264.<br />
If the selected camera supports dual streaming, the preview codec<br />
and recording codec can be set differently.<br />
• Resolution: Select resolutions for preview and recording.<br />
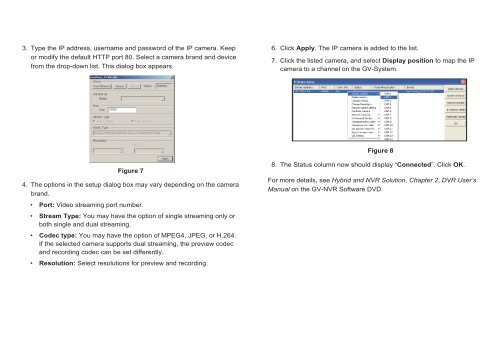
6. Click Apply. The IP camera is added to the list.<br />
7. Click the listed camera, and select Display position to map the IP<br />
camera to a channel on the GV-System.<br />
Figure 8<br />
8. The Status column now should display “Connected”. Click OK.<br />
For more details, see Hybrid and <strong>NVR</strong> Solution, Chapter 2, DVR User’s<br />
Manual on the GV-<strong>NVR</strong> Software DVD.