Bluetooth™ Access Point Point d'accès Bluetooth ... - Belkin
Bluetooth™ Access Point Point d'accès Bluetooth ... - Belkin
Bluetooth™ Access Point Point d'accès Bluetooth ... - Belkin

You also want an ePaper? Increase the reach of your titles
YUMPU automatically turns print PDFs into web optimized ePapers that Google loves.
P74186ea_F8T030_QIG.qxd 11-04-2003 08:51 Page 6<br />
Hardware Installation<br />
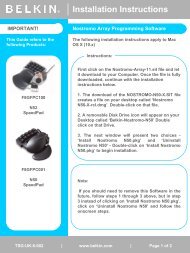
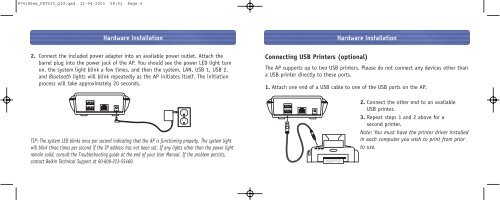
2. Connect the included power adapter into an available power outlet. Attach the<br />
barrel plug into the power jack of the AP. You should see the power LED light turn<br />
on, the system light blink a few times, and then the system, LAN, USB 1, USB 2,<br />
and <strong>Bluetooth</strong> lights will blink repeatedly as the AP initiates itself. The initiation<br />
process will take approximately 20 seconds.<br />
TIP: The system LED blinks once per second indicating that the AP is functioning properly. The system light<br />
will blink three times per second if the IP address has not been set. If any lights other than the power light<br />
remain solid, consult the Troubleshooting guide at the end of your User Manual. If the problem persists,<br />
contact <strong>Belkin</strong> Technical Support at 00-800-223-55460.<br />
Hardware Installation<br />
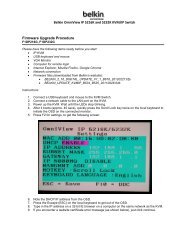
Connecting USB Printers (optional)<br />
The AP supports up to two USB printers. Please do not connect any devices other than<br />
a USB printer directly to these ports.<br />
1. Attach one end of a USB cable to one of the USB ports on the AP.<br />
2. Connect the other end to an available<br />
USB printer.<br />
3. Repeat steps 1 and 2 above for a<br />
second printer.<br />
Note: You must have the printer driver installed<br />
in each computer you wish to print from prior<br />
to use.