Injection Arm - 3B Scientific
Injection Arm - 3B Scientific
Injection Arm - 3B Scientific

You also want an ePaper? Increase the reach of your titles
YUMPU automatically turns print PDFs into web optimized ePapers that Google loves.
English<br />
Name<br />
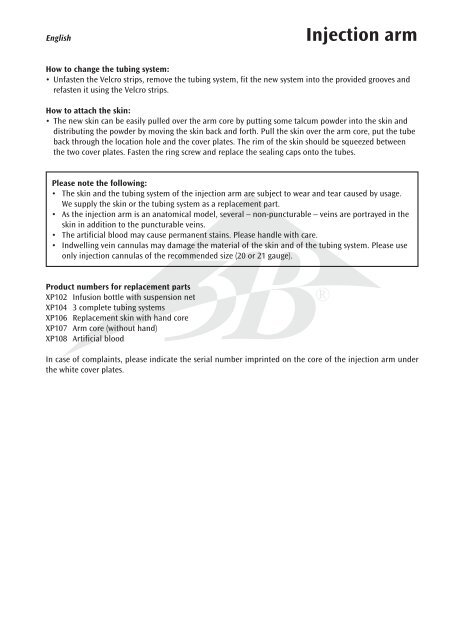
<strong>Injection</strong> arm<br />
How to change the tubing system:<br />
• Unfasten the Velcro strips, remove the tubing system, fit the new system into the provided grooves and<br />
refasten it using the Velcro strips.<br />
How to attach the skin:<br />
• The new skin can be easily pulled over the arm core by putting some talcum powder into the skin and<br />
distributing the powder by moving the skin back and forth. Pull the skin over the arm core, put the tube<br />
back through the location hole and the cover plates. The rim of the skin should be squeezed between<br />
the two cover plates. Fasten the ring screw and replace the sealing caps onto the tubes.<br />
Please note the following:<br />
• The skin and the tubing system of the injection arm are subject to wear and tear caused by usage.<br />
We supply the skin or the tubing system as a replacement part.<br />
• As the injection arm is an anatomical model, several – non-puncturable – veins are portrayed in the<br />
skin in addition to the puncturable veins.<br />
• The artificial blood may cause permanent stains. Please handle with care.<br />
• Indwelling vein cannulas may damage the material of the skin and of the tubing system. Please use<br />
only injection cannulas of the recommended size (20 or 21 gauge).<br />
Product numbers for replacement parts<br />
XP102 Infusion bottle with suspension net<br />
XP104 3 complete tubing systems<br />
XP106 Replacement skin with hand core<br />
XP107 <strong>Arm</strong> core (without hand)<br />
XP108 Artificial blood<br />
®<br />
In case of complaints, please indicate the serial number imprinted on the core of the injection arm under<br />
the white cover plates.