Single Stage Snowthrower - Canadiana
Single Stage Snowthrower - Canadiana
Single Stage Snowthrower - Canadiana

You also want an ePaper? Increase the reach of your titles
YUMPU automatically turns print PDFs into web optimized ePapers that Google loves.
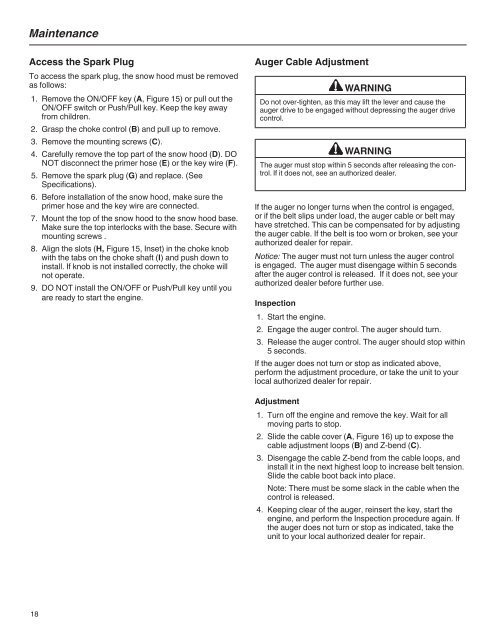
Maintenance<br />
Access the Spark Plug<br />
To access the spark plug, the snow hood must be removed<br />
as follows:<br />
1. Remove the ON/OFF key (A, Figure 15) or pull out the<br />
ON/OFF switch or Push/Pull key. Keep the key away<br />
from children.<br />
2. Grasp the choke control (B) and pull up to remove.<br />
3. Remove the mounting screws (C).<br />
4. Carefully remove the top part of the snow hood (D). DO<br />
NOT disconnect the primer hose (E) or the key wire (F).<br />
5. Remove the spark plug (G) and replace. (See<br />
Specifications).<br />
6. Before installation of the snow hood, make sure the<br />
primer hose and the key wire are connected.<br />
7. Mount the top of the snow hood to the snow hood base.<br />
Make sure the top interlocks with the base. Secure with<br />
mounting screws .<br />
8. Align the slots (H, Figure 15, Inset) in the choke knob<br />
with the tabs on the choke shaft (I) and push down to<br />
install. If knob is not installed correctly, the choke will<br />
not operate.<br />
9. DO NOT install the ON/OFF or Push/Pull key until you<br />
are ready to start the engine.<br />
Auger Cable Adjustment<br />
WARNING<br />
Do not over-tighten, as this may lift the lever and cause the<br />
auger drive to be engaged without depressing the auger drive<br />
control.<br />
WARNING<br />
The auger must stop within 5 seconds after releasing the control.<br />
If it does not, see an authorized dealer.<br />
If the auger no longer turns when the control is engaged,<br />
or if the belt slips under load, the auger cable or belt may<br />
have stretched. This can be compensated for by adjusting<br />
the auger cable. If the belt is too worn or broken, see your<br />
authorized dealer for repair.<br />
Notice: The auger must not turn unless the auger control<br />
is engaged. The auger must disengage within 5 seconds<br />
after the auger control is released. If it does not, see your<br />
authorized dealer before further use.<br />
Inspection<br />
1. Start the engine.<br />
2. Engage the auger control. The auger should turn.<br />
3. Release the auger control. The auger should stop within<br />
5 seconds.<br />
If the auger does not turn or stop as indicated above,<br />
perform the adjustment procedure, or take the unit to your<br />
local authorized dealer for repair.<br />
Adjustment<br />
1. Turn off the engine and remove the key. Wait for all<br />
moving parts to stop.<br />
2. Slide the cable cover (A, Figure 16) up to expose the<br />
cable adjustment loops (B) and Z-bend (C).<br />
3. Disengage the cable Z-bend from the cable loops, and<br />
install it in the next highest loop to increase belt tension.<br />
Slide the cable boot back into place.<br />
Note: There must be some slack in the cable when the<br />
control is released.<br />
4. Keeping clear of the auger, reinsert the key, start the<br />
engine, and perform the Inspection procedure again. If<br />
the auger does not turn or stop as indicated, take the<br />
unit to your local authorized dealer for repair.<br />
18