
You also want an ePaper? Increase the reach of your titles
YUMPU automatically turns print PDFs into web optimized ePapers that Google loves.
32 •••<br />
SENWES VILLAGE<br />
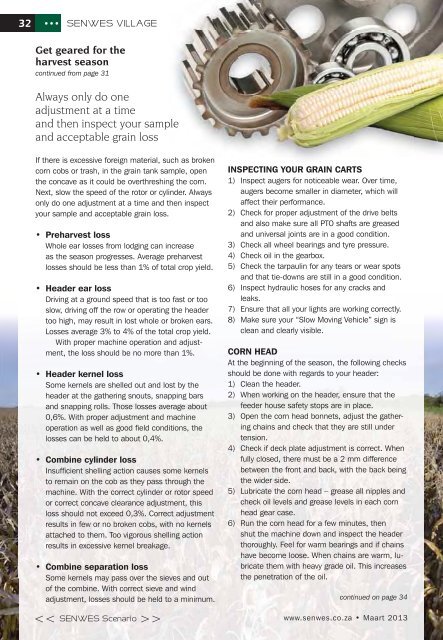
Get geared for the<br />
harvest season<br />
continued from page 31<br />
Always only do one<br />
adjustment at a time<br />
and then inspect your sample<br />
and acceptable grain loss<br />
If there is excessive foreign material, such uch as broken<br />
corn cobs or trash, in the grain tank sample, open<br />
the concave as it could be overthreshing the corn.<br />
Next, slow the speed of the rotor or cylinder. Always<br />
only do one adjustment at a time and then inspect<br />
your sample and acceptable grain loss.<br />
• Preharvest loss<br />
Whole ear losses from lodging can increase<br />
as the season progresses. Average preharvest<br />
losses should be less than 1% of total crop yield.<br />
• Header ear loss<br />
Driving at a ground speed that is too fast or too<br />
slow, driving off the row or operating the header<br />
too high, may result in lost whole or broken ears.<br />
Losses average 3% to 4% of the total crop yield.<br />
With proper machine operation and adjustment,<br />
the loss should be no more than 1%.<br />
• Header kernel loss<br />
Some kernels are shelled out and lost by the<br />
header at the gathering snouts, snapping bars<br />
and snapping rolls. Those losses average about<br />
0,6%. With proper adjustment and machine<br />
operation as well as good field conditions, the<br />
losses can be held to about 0,4%.<br />
• Combine cylinder loss<br />
Insufficient shelling action causes some kernels<br />
to remain on the cob as they pass through the<br />
machine. With the correct cylinder or rotor speed<br />
or correct concave clearance adjustment, this<br />
loss should not exceed 0,3%. Correct adjustment<br />
results in few or no broken cobs, with no kernels<br />
attached to them. Too vigorous shelling action<br />
results in excessive kernel breakage.<br />
• Combine separation loss<br />
Some kernels may pass over the sieves and out<br />
of the combine. With correct sieve and wind<br />
adjustment, losses should be held to a minimum.<br />
><br />
INSPECTING YOUR GRAIN CARTS<br />
1) Inspect augers for noticeable wear. Over time,<br />
augers become smaller in diameter, which will<br />
affect their performance.<br />
2) Check for proper adjustment of the drive belts<br />
and also make sure all PTO shafts are greased<br />
and universal joints are in a good condition.<br />
3) Check all wheel bearings and tyre pressure.<br />
4) Check oil in the gearbox.<br />
5) Check the tarpaulin for any tears or wear spots<br />
and that tie-downs are still in a good condition.<br />
6) Inspect hydraulic hoses for any cracks and<br />
leaks.<br />
7) Ensure that all your lights are working correctly.<br />
8) Make sure your “Slow Moving Vehicle” sign is<br />
clean and clearly visible.<br />
CORN HEAD<br />
At the beginning of the season, the following checks<br />
should be done with regards to your header:<br />
1) Clean the header.<br />
2) When working on the header, ensure that the<br />
feeder house safety stops are in place.<br />
3) Open the corn head bonnets, adjust the gathering<br />
chains and check that they are still under<br />
tension.<br />
4) Check if deck plate adjustment is correct. When<br />
fully closed, there must be a 2 mm difference<br />
between the front and back, with the back being<br />
the wider side.<br />
5) Lubricate the corn head – grease all nipples and<br />
check oil levels and grease levels in each corn<br />
head gear case.<br />
6) Run the corn head for a few minutes, then<br />
shut the machine down and inspect the header<br />
thoroughly. Feel for warm bearings and if chains<br />
have become loose. When chains are warm, lubricate<br />
them with heavy grade oil. This increases<br />
the penetration of the oil.<br />
continued on page 34<br />
www.senwes.co.za • <strong>Maart</strong> 2013