GLC120 - Black & Decker
GLC120 - Black & Decker
GLC120 - Black & Decker
You also want an ePaper? Increase the reach of your titles
YUMPU automatically turns print PDFs into web optimized ePapers that Google loves.
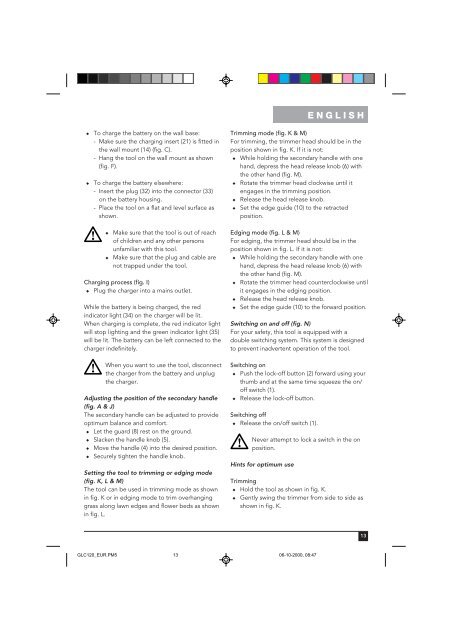
ENGLISH◆◆To charge the battery on the wall base:- Make sure the charging insert (21) is fitted inthe wall mount (14) (fig. C).- Hang the tool on the wall mount as shown(fig. F).To charge the battery elsewhere:- Insert the plug (32) into the connector (33)on the battery housing.- Place the tool on a flat and level surface asshown.Trimming mode (fig. K & M)For trimming, the trimmer head should be in theposition shown in fig. K. If it is not:◆ While holding the secondary handle with onehand, depress the head release knob (6) withthe other hand (fig. M).◆ Rotate the trimmer head clockwise until itengages in the trimming position.◆ Release the head release knob.◆ Set the edge guide (10) to the retractedposition.◆◆Make sure that the tool is out of reachof children and any other personsunfamiliar with this tool.Make sure that the plug and cable arenot trapped under the tool.Charging process (fig. I)◆ Plug the charger into a mains outlet.While the battery is being charged, the redindicator light (34) on the charger will be lit.When charging is complete, the red indicator lightwill stop lighting and the green indicator light (35)will be lit. The battery can be left connected to thecharger indefinitely.Edging mode (fig. L & M)For edging, the trimmer head should be in theposition shown in fig. L. If it is not:◆ While holding the secondary handle with onehand, depress the head release knob (6) withthe other hand (fig. M).◆ Rotate the trimmer head counterclockwise untilit engages in the edging position.◆ Release the head release knob.◆ Set the edge guide (10) to the forward position.Switching on and off (fig. N)For your safety, this tool is equipped with adouble switching system. This system is designedto prevent inadvertent operation of the tool.When you want to use the tool, disconnectthe charger from the battery and unplugthe charger.Adjusting the position of the secondary handle(fig. A & J)The secondary handle can be adjusted to provideoptimum balance and comfort.◆ Let the guard (8) rest on the ground.◆ Slacken the handle knob (5).◆ Move the handle (4) into the desired position.◆ Securely tighten the handle knob.Setting the tool to trimming or edging mode(fig. K, L & M)The tool can be used in trimming mode as shownin fig. K or in edging mode to trim overhanginggrass along lawn edges and flower beds as shownin fig. L.Switching on◆ Push the lock-off button (2) forward using yourthumb and at the same time squeeze the on/off switch (1).◆ Release the lock-off button.Switching off◆ Release the on/off switch (1).Never attempt to lock a switch in the onposition.Hints for optimum useTrimming◆ Hold the tool as shown in fig. K.◆ Gently swing the trimmer from side to side asshown in fig. K.13<strong>GLC120</strong>_EUR.PM5 1306-10-2000, 08:47


