(JB+) Installation Guide
(JB+) Installation Guide
(JB+) Installation Guide

You also want an ePaper? Increase the reach of your titles
YUMPU automatically turns print PDFs into web optimized ePapers that Google loves.
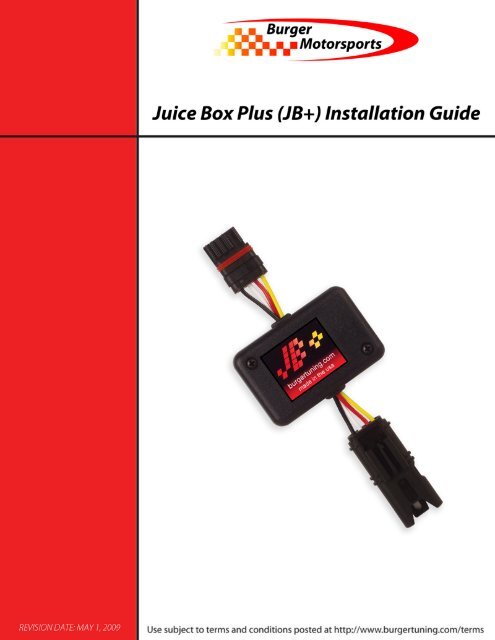
Juice Box Plus (<strong>JB+</strong>) <strong>Installation</strong> <strong>Guide</strong> – 5/01/09<br />
1. The ECU must be asleep before removing TMAP connector. Open hood, lock and<br />
close doors, and wait 15 minutes. If you have comfort access place your keys far<br />
enough away to avoid waking the ECU up. Alternatively you may disconnect your<br />
negative battery terminal in the trunk.<br />
2. If installing on a 135i or 535i, the airbox should be removed to access the TMAP<br />
sensor. Refer to the intake installation video and PDF guide posted at<br />
www.burgertuning.com/support for detailed instructions. In some cases where 335i<br />
owners are having a difficult time locating the sensor or reaching the clip removing<br />
the airbox can be a good idea. As a general rule of thumb if you've spent more than<br />
15 minutes trying to locate the TMAP sensor and/or remove the clip, remove the<br />
airbox to give yourself more room to work.<br />
3. Locate the TMAP sensor on the charge pipe leading to the throttle body. This is on<br />
the driver side of the engine, below the diverter valves. It can be difficult to see so<br />
use a flashlight to spot it. Working from the driver side of the engine bay; reach your<br />
arm down between the airbox and the fender 12-18". Use the two black diverter<br />
valves w/ accordion piping as a visual reference.<br />
Also please note there is a similar looking (MAP) sensor located on top of the intake<br />
manifold. This is the incorrect sensor! If you attempt to plug your <strong>JB+</strong> in to MAP sensor<br />
it will not fit.<br />
Below is a photo with the intake box removed, and TMAP sensor circled in red:<br />
<strong>JB+</strong> <strong>Installation</strong> <strong>Guide</strong><br />
© 2009 Copyright Burger Motor Sports, LLC<br />
1 / 4
Juice Box Plus (<strong>JB+</strong>) <strong>Installation</strong> <strong>Guide</strong> – 5/01/09<br />
4. Once located, use the flat side of a USB cable to unclip the connector leading to the<br />
TMAP sensor. Push the USB cable up until it stays in place on its own, and tug the<br />
wire bundle/connector out. Alternatively you may use a penny or screwdriver to lift<br />
the clip. If the clip is lifted too far it can break so be gentle. In the event of the clip<br />
breaking plug the <strong>JB+</strong> in to the TMAP sensor without the clip. Friction will hold it in<br />
place.<br />
<strong>JB+</strong> <strong>Installation</strong> <strong>Guide</strong><br />
© 2009 Copyright Burger Motor Sports, LLC<br />
2 / 4
Juice Box Plus (<strong>JB+</strong>) <strong>Installation</strong> <strong>Guide</strong> – 5/01/09<br />
5. Insert the male <strong>JB+</strong> connector in to the TMAP sensor so it snaps in place. The dot on<br />
the connector will be facing out to slide under the clip.<br />
6. Plug the original male connector in to the <strong>JB+</strong> female connector so it snaps in place.<br />
Using a flashlight to examine the connector ahead of time is a good idea.<br />
7. <strong>Installation</strong> is complete! Your car will adapt to the <strong>JB+</strong> over a few driving cycles. So<br />
drive and enjoy!<br />
<strong>JB+</strong> <strong>Installation</strong> <strong>Guide</strong><br />
© 2009 Copyright Burger Motor Sports, LLC<br />
3 / 4
Juice Box Plus (<strong>JB+</strong>) <strong>Installation</strong> <strong>Guide</strong> – 5/01/09<br />
<strong>JB+</strong> Boost Adjustment<br />
The <strong>JB+</strong> is adjustable from ~1.75psi over stock to ~4.75psi over stock using the white<br />
adjustment dial. These figures are averages and actual boost changes will depend on<br />
weather, altitude, and modifications. Adjustment is made using a small screwdriver to<br />
turn the white inner dial. Do not turn the entire blue pot or you may damage the <strong>JB+</strong>.<br />
Towards the "max" setting indicates more boost, "min" setting indicates less boost, and<br />
the exact middle as shown is the default setting.<br />
It is suggested users under warranty without access to a BT cable or CAN Tool (available<br />
at www.burgertuning.com) use no more than the default setting avoid hidden tuner<br />
detection codes. Also note higher settings may not always increase performance and may<br />
lead to various check engine lights. If you experience 30FF codes at higher settings<br />
during wide open throttle doing the free solenoid bypass detailed in our JB2 install guide<br />
may help.<br />
If combining the <strong>JB+</strong> with another tune, please consult with that tuner/manufacturer first<br />
for advice and suggested boost settings.<br />
Use subject to terms and conditions posted at http://www.burgertuning.com/terms<br />
<strong>JB+</strong> <strong>Installation</strong> <strong>Guide</strong><br />
© 2009 Copyright Burger Motor Sports, LLC<br />
4 / 4