Blaster – 3 Assembly Manual Contents 1. Parts and Materials list ...
Blaster – 3 Assembly Manual Contents 1. Parts and Materials list ...
Blaster – 3 Assembly Manual Contents 1. Parts and Materials list ...

Create successful ePaper yourself
Turn your PDF publications into a flip-book with our unique Google optimized e-Paper software.
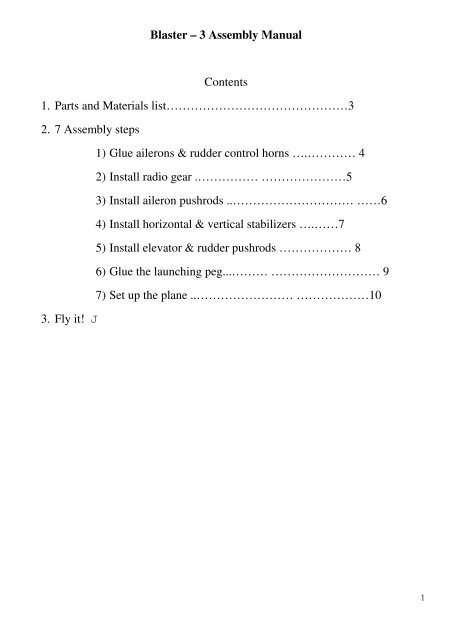
<strong>Blaster</strong> <strong>–</strong> 3 <strong>Assembly</strong> <strong>Manual</strong><br />
<strong>Contents</strong><br />
<strong>1.</strong> <strong>Parts</strong> <strong>and</strong> <strong>Materials</strong> <strong>list</strong>………………………………………3<br />
2. 7 <strong>Assembly</strong> steps<br />
3. Fly it! J<br />
1) Glue ailerons & rudder control horns ….………… 4<br />
2) Install radio gear .…………… …………………5<br />
3) Install aileron pushrods ..………………………… ……6<br />
4) Install horizontal & vertical stabilizers ….……7<br />
5) Install elevator & rudder pushrods ……………… 8<br />
6) Glue the launching peg...……… ……………………… 9<br />
7) Set up the plane ..…………………… ………………10<br />
1
<strong>Parts</strong> <strong>and</strong> <strong>Materials</strong> List<br />
The <strong>Blaster</strong> 3 kit includes the following parts:<br />
1<br />
2<br />
3<br />
4 5 6 7 8 9 10 11 12 13<br />
1) Wing<br />
2) Fuselage<br />
3) Nose cone<br />
4) Horizontal stabilizer<br />
5) Launching peg<br />
6) V-mount<br />
7) Vertical stabilizer<br />
8) Aileron control horns<br />
9) Rudder control horn<br />
10) Front wing mounting screw М3х8 (2 pieces, 1 spare)<br />
11) Rear wing mounting screw М3х6 (2 pieces, 1 spare)<br />
12) Horiz. Stabilizer washer (2 pieces, 1 spare)<br />
13) Clevises<br />
16<br />
15<br />
14<br />
2
14) Aileron pushrods<br />
15) Rudder & elevator pushrods<br />
16) Pushrod sleeves (2 pieces)<br />
Radio equipment needed to fly <strong>Blaster</strong> 3:<br />
1) Shread <strong>–</strong> RC 650 mAh (Li-Po battery)<br />
2) Micro receiver (Spectrum AR6250, AR6255)<br />
3) 9 or 11mm thick servos 6…9 g<br />
List of materials needed to assemble the <strong>Blaster</strong> 3<br />
1) Thin <strong>and</strong> Medium CA, CA kicker<br />
2) Hobby knife<br />
3) Masking tape<br />
4) Pen <strong>and</strong> ruler<br />
5) 240…320 grit s<strong>and</strong>paper<br />
6) Pliers<br />
3
Glue ailerons & rudder control horns<br />
1) Using a hobby knife or Dremel wheel, cut control horn slots in ailerons <strong>and</strong><br />
rudder, positioned as shown here.<br />
2) Clue control horns with thin CA. Position the rudder horn as shown<br />
here.<br />
4
Install radio gear<br />
1) Cut the lugs off your servos, Hyperion DS09-AMD/DS11-AMD or Futaba<br />
S3156MG, <strong>and</strong> cover them with masking tape. Optionally, wind thin but<br />
strong thread (e.g., Kevlar) around them.<br />
2) If you opt for a non-movable rudder, place servos as shown in this picture.<br />
If you would like to control the rudder too, place the rudder servo behind<br />
the battery <strong>and</strong> mount everything temporarily with tape. Make sure that<br />
nose cone clears the servo arms!!!<br />
6
3) Glue servos with CA, but leave the battery mounted with tape.<br />
7
Install aileron pushrods<br />
1) Mount the wing with front М3х8 <strong>and</strong> rear М3х6 screws. Insert aileron<br />
pushrods into their sleeves, then slide them into the wing pylon. Hook<br />
the aileron pushrods into the control horns.<br />
2) Glue the pushrod sleeves to the pylon wherever possible.<br />
9
Install horizontal & vertical stabilizers<br />
1) Tape the vertical stabilizer in place, then install the horizontal<br />
stabilizer on the V-mount <strong>and</strong> slide them into position.<br />
2) Mark the position of V-mount onto the tail boom. To eliminate the<br />
gap, remove the V-mount <strong>and</strong> wind thin thread around the boom.<br />
3) Put the stabilizer/V-mount back on the tail boom <strong>and</strong> align it with the<br />
wing. Glue the V-mount with thin CA.<br />
10
4) Install the vertical stabilizer as shown, ensure that it is perpendicular<br />
to the horizontal stabilizer, <strong>and</strong> carefully glue it with thin CA.<br />
11
Install elevator & rudder pushrods<br />
1) Gather 2 pushrods with clevises <strong>and</strong> heat shrink tubes.<br />
2) Glue clevises to one side of the pushrods with thin CA.<br />
12
3) Slide heat shrink tube over the joint <strong>and</strong> drop CA inside the tube.<br />
4) Glue sleeve pieces along the boom at 40…50mm (<strong>1.</strong>5…2”) distance.<br />
13
Glue the launching peg<br />
1) S<strong>and</strong> the throwing peg as you find fit.<br />
2) Install the peg on the wing tip <strong>and</strong> glue it with thin CA.<br />
14
Setup the plane<br />
We recommend programming your transmitter for 4 flight modes<br />
Make sure the C.G. is located at 80 mm (85…90 mm for experts) from the<br />
leading edge at the wing root.<br />
Keep your TX <strong>and</strong> RX batteries charged!!!<br />
In order not to damage the wing, launch the glider after a full revolution!!!<br />
You can find additional information about different flight modes at the following<br />
link on <strong>Blaster</strong> 3 page.<br />
16