Installing Canon EOS Rebel G Logic Board
Installing Canon EOS Rebel G Logic Board
Installing Canon EOS Rebel G Logic Board

Create successful ePaper yourself
Turn your PDF publications into a flip-book with our unique Google optimized e-Paper software.
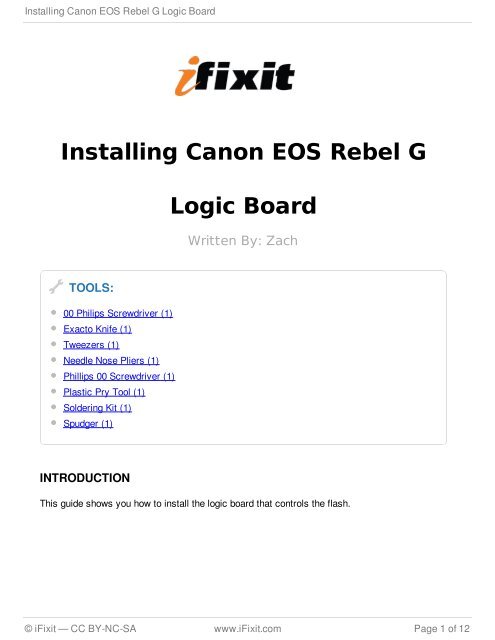
<strong>Installing</strong> <strong>Canon</strong> <strong>EOS</strong> <strong>Rebel</strong> G <strong>Logic</strong> <strong>Board</strong><br />
<strong>Installing</strong> <strong>Canon</strong> <strong>EOS</strong> <strong>Rebel</strong> G<br />
TOOLS:<br />
00 Philips Screwdriver (1)<br />
Exacto Knife (1)<br />
Tweezers (1)<br />
Needle Nose Pliers (1)<br />
Phillips 00 Screwdriver (1)<br />
Plastic Pry Tool (1)<br />
Soldering Kit (1)<br />
Spudger (1)<br />
INTRODUCTION<br />
<strong>Logic</strong> <strong>Board</strong><br />
Written By: Zach<br />
This guide shows you how to install the logic board that controls the flash.<br />
© iFixit — CC BY-NC-SA www.iFixit.com Page 1 of 12
<strong>Installing</strong> <strong>Canon</strong> <strong>EOS</strong> <strong>Rebel</strong> G <strong>Logic</strong> <strong>Board</strong><br />
Step 1 — Front Panel<br />
Step 2<br />
Using a #00 Phillips screw driver,<br />
remove three 4.4 mm Phillips<br />
screws as indicated by the red<br />
circles.<br />
Using your finger, peel back the textured grip so the components are separated.<br />
© iFixit — CC BY-NC-SA www.iFixit.com Page 2 of 12
<strong>Installing</strong> <strong>Canon</strong> <strong>EOS</strong> <strong>Rebel</strong> G <strong>Logic</strong> <strong>Board</strong><br />
Step 3<br />
Using the flat end of a spudger, loosen the connection between the front panel and the<br />
device.<br />
Remove the front panel using your hands.<br />
Step 4 — Top Panel<br />
Turn Camera over.<br />
Using a #00 Phillips screw driver,<br />
unscrew the two 4.9 mm Phillips<br />
screws located on either side of the<br />
viewfinder.<br />
© iFixit — CC BY-NC-SA www.iFixit.com Page 3 of 12
<strong>Installing</strong> <strong>Canon</strong> <strong>EOS</strong> <strong>Rebel</strong> G <strong>Logic</strong> <strong>Board</strong><br />
Step 5<br />
Step 6<br />
Using a #00 Phillips screw driver,<br />
unscrew the one 5.7 mm Phillips<br />
screw located next to the LCD<br />
screen.<br />
Lay the camera on its back.<br />
Unsolder the flash connection from<br />
the motherboard as noted by the<br />
blue circle.<br />
© iFixit — CC BY-NC-SA www.iFixit.com Page 4 of 12
<strong>Installing</strong> <strong>Canon</strong> <strong>EOS</strong> <strong>Rebel</strong> G <strong>Logic</strong> <strong>Board</strong><br />
Step 7<br />
Remove the top panel by lifting it from the back, pushing it forward over the camera and<br />
letting it rotate down in front of the camera.<br />
Step 8 — Back Panel<br />
Using a #00 Philllips screw driver,<br />
unscrew the 6.8 mm Phillips screw<br />
that holds the strap anchor noted<br />
by the red circle.<br />
Remove the strap anchor.<br />
© iFixit — CC BY-NC-SA www.iFixit.com Page 5 of 12
<strong>Installing</strong> <strong>Canon</strong> <strong>EOS</strong> <strong>Rebel</strong> G <strong>Logic</strong> <strong>Board</strong><br />
Step 9<br />
Step 10<br />
From the bottom of the camera push the hinge rod in with your finger.<br />
Return the camera to its upright position.<br />
Use pliers (or tweezers) to pull the rod out from the top.<br />
Unlatch the back panel.<br />
Using a #00 Phillips screw driver,<br />
unscrew the six screws on the<br />
bottom of the camera.<br />
One 7.4 mm Phillips screw<br />
Two 6.0 mm Phillips screws<br />
Two 4.4 mm Phillips screws<br />
One 3.9 mm Phillips screw<br />
© iFixit — CC BY-NC-SA www.iFixit.com Page 6 of 12
<strong>Installing</strong> <strong>Canon</strong> <strong>EOS</strong> <strong>Rebel</strong> G <strong>Logic</strong> <strong>Board</strong><br />
Step 11 — Grip<br />
Step 12<br />
Using a 00 Phillips screw driver,<br />
unscrew the two 4.9 mm Phillips<br />
screws. on the inside of the<br />
camera.<br />
Using a 00 Phillips screw driver,<br />
unscrew the two 4.3 mm Phillips<br />
screws on the side of the camera.<br />
Use your fingers to pull out the plug<br />
that is located between the screw<br />
holes.<br />
© iFixit — CC BY-NC-SA www.iFixit.com Page 7 of 12
<strong>Installing</strong> <strong>Canon</strong> <strong>EOS</strong> <strong>Rebel</strong> G <strong>Logic</strong> <strong>Board</strong><br />
Step 13<br />
Use the flat end of a spudger to pop the grip off and remove grip.<br />
Step 14 — LCD Screen<br />
Pry off the small metal brace holding the LCD screen. (Push forward and slide toward the<br />
center)<br />
© iFixit — CC BY-NC-SA www.iFixit.com Page 8 of 12
<strong>Installing</strong> <strong>Canon</strong> <strong>EOS</strong> <strong>Rebel</strong> G <strong>Logic</strong> <strong>Board</strong><br />
Step 15<br />
Step 16 — <strong>Logic</strong> <strong>Board</strong><br />
Lift out the LCD screen.<br />
Using a 00 Phillips screw driver,<br />
unscrew the 7.4 mm Phillips screw<br />
on the top of the camera.<br />
Using a 00 Phillips screw driver,<br />
unscrew the 4.9 mm Phillips screw<br />
on the top of the camera.<br />
© iFixit — CC BY-NC-SA www.iFixit.com Page 9 of 12
<strong>Installing</strong> <strong>Canon</strong> <strong>EOS</strong> <strong>Rebel</strong> G <strong>Logic</strong> <strong>Board</strong><br />
Step 17<br />
Lift the LCD mount to reveal the logic board.<br />
Step 18<br />
Using a 00 Phillips screw driver, unscrew the 4.9 mm Phillips screw on the back of the<br />
camera.<br />
Using a 00 Phillips screw driver, unscrew the 5.8 mm Phillips screw on the top of the<br />
camera.<br />
© iFixit — CC BY-NC-SA www.iFixit.com Page 10 of 12
<strong>Installing</strong> <strong>Canon</strong> <strong>EOS</strong> <strong>Rebel</strong> G <strong>Logic</strong> <strong>Board</strong><br />
Step 19<br />
Use an Exacto knife to cut the white calking on the side of the side panel<br />
Pull the side panel away from the camera.<br />
Step 20<br />
Unsolder all of the wires on the top of the logic board.<br />
© iFixit — CC BY-NC-SA www.iFixit.com Page 11 of 12
<strong>Installing</strong> <strong>Canon</strong> <strong>EOS</strong> <strong>Rebel</strong> G <strong>Logic</strong> <strong>Board</strong><br />
Step 21<br />
Lift up on the board and pull towards the grip.<br />
Step 22<br />
Flip the board over.<br />
Unsolder the two wires on the bottom of the board.<br />
To reassemble your device, follow these instructions in reverse order.<br />
This document was last generated on 2013-05-15 04:17:20 PM.<br />
© iFixit — CC BY-NC-SA www.iFixit.com Page 12 of 12