Instructions for Philips PW1830.pdf
Instructions for Philips PW1830.pdf
Instructions for Philips PW1830.pdf

Create successful ePaper yourself
Turn your PDF publications into a flip-book with our unique Google optimized e-Paper software.
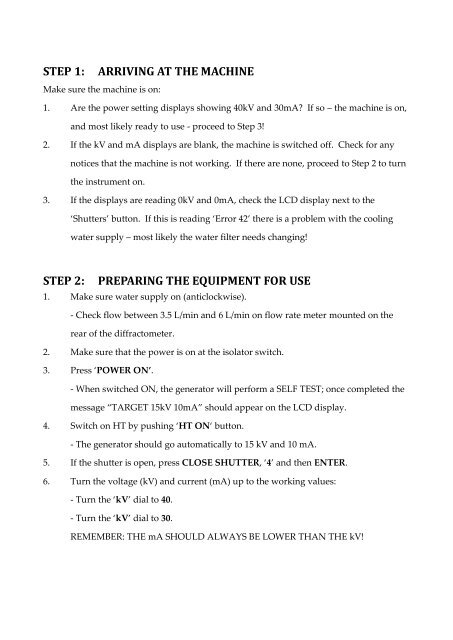
STEP 1: ARRIVING AT THE MACHINE<br />
Make sure the machine is on:<br />
1. Are the power setting displays showing 40kV and 30mA? If so – the machine is on,<br />
and most likely ready to use - proceed to Step 3!<br />
2. If the kV and mA displays are blank, the machine is switched off. Check <strong>for</strong> any<br />
notices that the machine is not working. If there are none, proceed to Step 2 to turn<br />
the instrument on.<br />
3. If the displays are reading 0kV and 0mA, check the LCD display next to the<br />
‘Shutters’ button. If this is reading ‘Error 42’ there is a problem with the cooling<br />
water supply – most likely the water filter needs changing!<br />
STEP 2: PREPARING THE EQUIPMENT FOR USE<br />
1. Make sure water supply on (anticlockwise).<br />
- Check flow between 3.5 L/min and 6 L/min on flow rate meter mounted on the<br />
rear of the diffractometer.<br />
2. Make sure that the power is on at the isolator switch.<br />
3. Press ‘POWER ON’.<br />
- When switched ON, the generator will per<strong>for</strong>m a SELF TEST; once completed the<br />
message ‚TARGET 15kV 10mA‛ should appear on the LCD display.<br />
4. Switch on HT by pushing ‘HT ON‘ button.<br />
- The generator should go automatically to 15 kV and 10 mA.<br />
5. If the shutter is open, press CLOSE SHUTTER, ‘4’ and then ENTER.<br />
6. Turn the voltage (kV) and current (mA) up to the working values:<br />
- Turn the ‘kV’ dial to 40.<br />
- Turn the ‘kV’ dial to 30.<br />
REMEMBER: THE mA SHOULD ALWAYS BE LOWER THAN THE kV!