AT90USBKey Hardware User Guide
AT90USBKey Hardware User Guide
AT90USBKey Hardware User Guide

You also want an ePaper? Increase the reach of your titles
YUMPU automatically turns print PDFs into web optimized ePapers that Google loves.
Using the <strong>AT90USBKey</strong><br />
2.6 Debugging<br />
2.6.1 Debugging with AVR JTAG ICE mkII<br />
2-14 <strong>AT90USBKey</strong> <strong>Hardware</strong> <strong>User</strong> <strong>Guide</strong><br />
7627A–AVR–04/06<br />
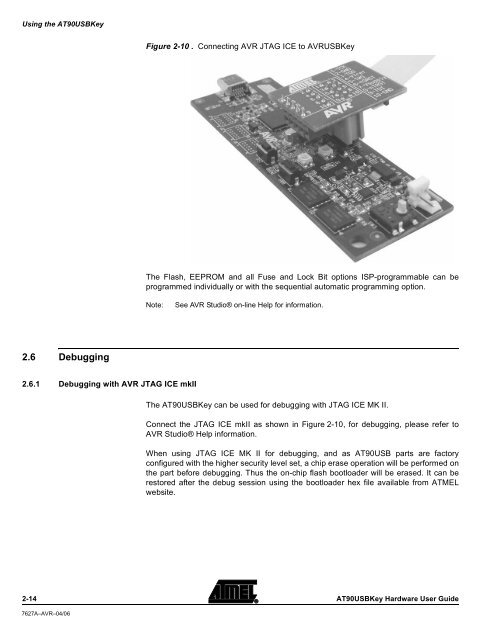
Figure 2-10 . Connecting AVR JTAG ICE to AVRUSBKey<br />
The Flash, EEPROM and all Fuse and Lock Bit options ISP-programmable can be<br />
programmed individually or with the sequential automatic programming option.<br />
Note: See AVR Studio® on-line Help for information.<br />
The <strong>AT90USBKey</strong> can be used for debugging with JTAG ICE MK II.<br />
Connect the JTAG ICE mkII as shown in Figure 2-10, for debugging, please refer to<br />
AVR Studio® Help information.<br />
When using JTAG ICE MK II for debugging, and as AT90USB parts are factory<br />
configured with the higher security level set, a chip erase operation will be performed on<br />
the part before debugging. Thus the on-chip flash bootloader will be erased. It can be<br />
restored after the debug session using the bootloader hex file available from ATMEL<br />
website.