Hepta Adaptor Assembly Instructions - Bio-Rad
Hepta Adaptor Assembly Instructions - Bio-Rad
Hepta Adaptor Assembly Instructions - Bio-Rad
Create successful ePaper yourself
Turn your PDF publications into a flip-book with our unique Google optimized e-Paper software.
<strong>Hepta</strong> <strong>Adaptor</strong> <strong>Assembly</strong> <strong>Instructions</strong><br />
Section A<br />
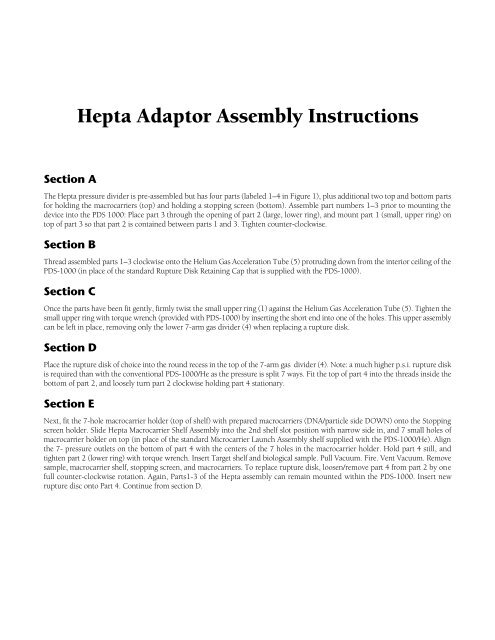
The <strong>Hepta</strong> pressure divider is pre-assembled but has four parts (labeled 1–4 in Figure 1), plus additional two top and bottom parts<br />
for holding the macrocarriers (top) and holding a stopping screen (bottom). Assemble part numbers 1–3 prior to mounting the<br />
device into the PDS 1000: Place part 3 through the opening of part 2 (large, lower ring), and mount part 1 (small, upper ring) on<br />
top of part 3 so that part 2 is contained between parts 1 and 3. Tighten counter-clockwise.<br />
Section B<br />
Thread assembled parts 1–3 clockwise onto the Helium Gas Acceleration Tube (5) protruding down from the interior ceiling of the<br />
PDS-1000 (in place of the standard Rupture Disk Retaining Cap that is supplied with the PDS-1000).<br />
Section C<br />
Once the parts have been fit gently, firmly twist the small upper ring (1) against the Helium Gas Acceleration Tube (5). Tighten the<br />
small upper ring with torque wrench (provided with PDS-1000) by inserting the short end into one of the holes. This upper assembly<br />
can be left in place, removing only the lower 7-arm gas divider (4) when replacing a rupture disk.<br />
Section D<br />
Place the rupture disk of choice into the round recess in the top of the 7-arm gas divider (4). Note: a much higher p.s.i. rupture disk<br />
is required than with the conventional PDS-1000/He as the pressure is split 7 ways. Fit the top of part 4 into the threads inside the<br />
bottom of part 2, and loosely turn part 2 clockwise holding part 4 stationary.<br />
Section E<br />
Next, fit the 7-hole macrocarrier holder (top of shelf) with prepared macrocarriers (DNA/particle side DOWN) onto the Stopping<br />
screen holder. Slide <strong>Hepta</strong> Macrocarrier Shelf <strong>Assembly</strong> into the 2nd shelf slot position with narrow side in, and 7 small holes of<br />
macrocarrier holder on top (in place of the standard Microcarrier Launch <strong>Assembly</strong> shelf supplied with the PDS-1000/He). Align<br />
the 7- pressure outlets on the bottom of part 4 with the centers of the 7 holes in the macrocarrier holder. Hold part 4 still, and<br />
tighten part 2 (lower ring) with torque wrench. Insert Target shelf and biological sample. Pull Vacuum. Fire. Vent Vacuum. Remove<br />
sample, macrocarrier shelf, stopping screen, and macrocarriers. To replace rupture disk, loosen/remove part 4 from part 2 by one<br />
full counter-clockwise rotation. Again, Parts1-3 of the <strong>Hepta</strong> assembly can remain mounted within the PDS-1000. Insert new<br />
rupture disc onto Part 4. Continue from section D.
4106154 Rev A


