Owner's Manual - Antares
Owner's Manual - Antares
Owner's Manual - Antares

Create successful ePaper yourself
Turn your PDF publications into a flip-book with our unique Google optimized e-Paper software.
8<br />
Source Mic Section<br />
The Source Mic section is where you specify the mic and the settings that were (or will be) used<br />
to capture the input sound. The purpose of these selections is to remove the effect of the source<br />
microphone, resulting in the signal that would have been recorded by an ideal instrumentation<br />
microphone with no proximity effect.<br />
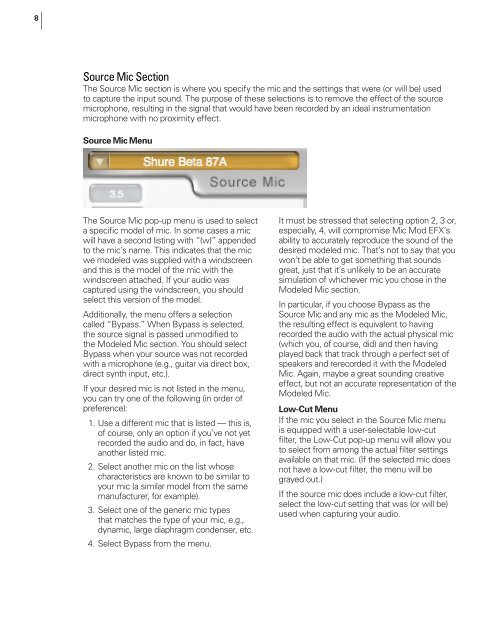
Source Mic Menu<br />
The Source Mic pop-up menu is used to select<br />
a specific model of mic. In some cases a mic<br />
will have a second listing with “(w)” appended<br />
to the mic’s name. This indicates that the mic<br />
we modeled was supplied with a windscreen<br />
and this is the model of the mic with the<br />
windscreen attached. If your audio was<br />
captured using the windscreen, you should<br />
select this version of the model.<br />
Additionally, the menu offers a selection<br />
called “Bypass.” When Bypass is selected,<br />
the source signal is passed unmodified to<br />
the Modeled Mic section. You should select<br />
Bypass when your source was not recorded<br />
with a microphone (e.g., guitar via direct box,<br />
direct synth input, etc.).<br />
If your desired mic is not listed in the menu,<br />
you can try one of the following (in order of<br />
preference):<br />
1. Use a different mic that is listed — this is,<br />
of course, only an option if you’ve not yet<br />
recorded the audio and do, in fact, have<br />
another listed mic.<br />
2. Select another mic on the list whose<br />
characteristics are known to be similar to<br />
your mic (a similar model from the same<br />
manufacturer, for example).<br />
3. Select one of the generic mic types<br />
that matches the type of your mic, e.g.,<br />
dynamic, large diaphragm condenser, etc.<br />
4. Select Bypass from the menu.<br />
It must be stressed that selecting option 2, 3 or,<br />
especially, 4, will compromise Mic Mod EFX’s<br />
ability to accurately reproduce the sound of the<br />
desired modeled mic. That’s not to say that you<br />
won’t be able to get something that sounds<br />
great, just that it’s unlikely to be an accurate<br />
simulation of whichever mic you chose in the<br />
Modeled Mic section.<br />
In particular, if you choose Bypass as the<br />
Source Mic and any mic as the Modeled Mic,<br />
the resulting effect is equivalent to having<br />
recorded the audio with the actual physical mic<br />
(which you, of course, did) and then having<br />
played back that track through a perfect set of<br />
speakers and rerecorded it with the Modeled<br />
Mic. Again, maybe a great sounding creative<br />
effect, but not an accurate representation of the<br />
Modeled Mic.<br />
Low-Cut Menu<br />
If the mic you select in the Source Mic menu<br />
is equipped with a user-selectable low-cut<br />
filter, the Low-Cut pop-up menu will allow you<br />
to select from among the actual filter settings<br />
available on that mic. (If the selected mic does<br />
not have a low-cut filter, the menu will be<br />
grayed out.)<br />
If the source mic does include a low-cut filter,<br />
select the low-cut setting that was (or will be)<br />
used when capturing your audio.