Owner's Manual - Antares
Owner's Manual - Antares
Owner's Manual - Antares

You also want an ePaper? Increase the reach of your titles
YUMPU automatically turns print PDFs into web optimized ePapers that Google loves.
12<br />
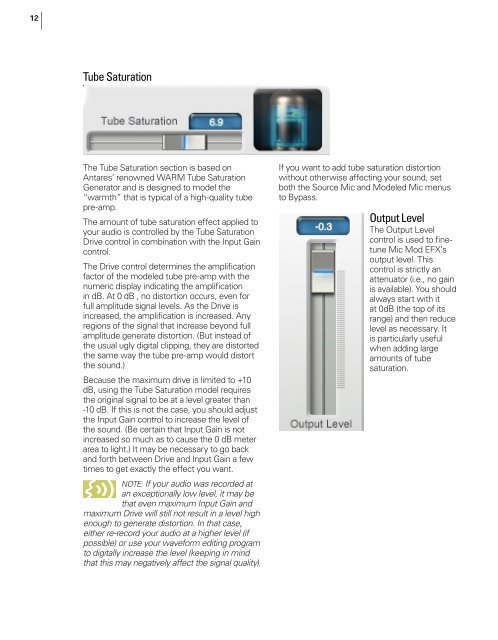
Tube Saturation<br />
The Tube Saturation section is based on<br />
<strong>Antares</strong>’ renowned WARM Tube Saturation<br />
Generator and is designed to model the<br />
“warmth” that is typical of a high-quality tube<br />
pre-amp.<br />
The amount of tube saturation effect applied to<br />
your audio is controlled by the Tube Saturation<br />
Drive control in combination with the Input Gain<br />
control.<br />
The Drive control determines the amplification<br />
factor of the modeled tube pre-amp with the<br />
numeric display indicating the amplification<br />
in dB. At 0 dB , no distortion occurs, even for<br />
full amplitude signal levels. As the Drive is<br />
increased, the amplification is increased. Any<br />
regions of the signal that increase beyond full<br />
amplitude generate distortion. (But instead of<br />
the usual ugly digital clipping, they are distorted<br />
the same way the tube pre-amp would distort<br />
the sound.)<br />
Because the maximum drive is limited to +10<br />
dB, using the Tube Saturation model requires<br />
the original signal to be at a level greater than<br />
-10 dB. If this is not the case, you should adjust<br />
the Input Gain control to increase the level of<br />
the sound. (Be certain that Input Gain is not<br />
increased so much as to cause the 0 dB meter<br />
area to light.) It may be necessary to go back<br />
and forth between Drive and Input Gain a few<br />
times to get exactly the effect you want.<br />
NOTE: If your audio was recorded at<br />
an exceptionally low level, it may be<br />
that even maximum Input Gain and<br />
maximum Drive will still not result in a level high<br />
enough to generate distortion. In that case,<br />
either re-record your audio at a higher level (if<br />
possible) or use your waveform editing program<br />
to digitally increase the level (keeping in mind<br />
that this may negatively affect the signal quality).<br />
If you want to add tube saturation distortion<br />
without otherwise affecting your sound, set<br />
both the Source Mic and Modeled Mic menus<br />
to Bypass.<br />
Output Level<br />
The Output Level<br />
control is used to finetune<br />
Mic Mod EFX’s<br />
output level. This<br />
control is strictly an<br />
attenuator (i.e., no gain<br />
is available). You should<br />
always start with it<br />
at 0dB (the top of its<br />
range) and then reduce<br />
level as necessary. It<br />
is particularly useful<br />
when adding large<br />
amounts of tube<br />
saturation.