(Manual) OLYMPUS E-410 - Sensor Cleaning
(Manual) OLYMPUS E-410 - Sensor Cleaning
(Manual) OLYMPUS E-410 - Sensor Cleaning
You also want an ePaper? Increase the reach of your titles
YUMPU automatically turns print PDFs into web optimized ePapers that Google loves.
2 Improving your shooting skills k Shooting guides<br />
Basic function guides<br />
Take pictures frequently to familiarize yourself with the camera. You can start off by taking<br />
pictures of your surrounding subjects like children, flowers or pets. And from the poor quality<br />
pictures you have taken, try to figure out what went wrong. The problems can often be<br />
resolved just by being more observant during shooting.<br />
Focus: Operating the shutter button<br />
2Improving your shooting skills k Shooting guides<br />
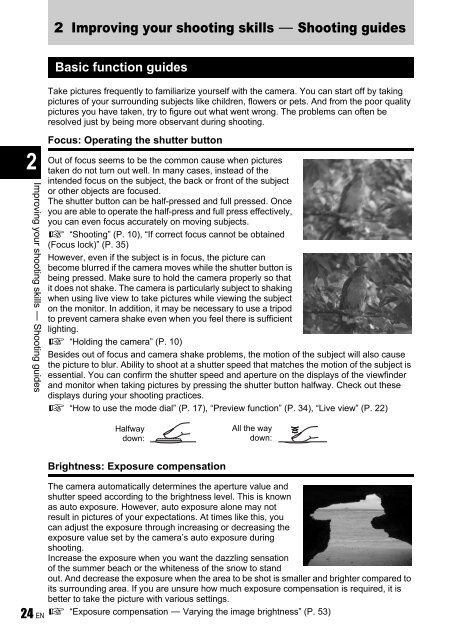
Out of focus seems to be the common cause when pictures<br />
taken do not turn out well. In many cases, instead of the<br />
intended focus on the subject, the back or front of the subject<br />
or other objects are focused.<br />
The shutter button can be half-pressed and full pressed. Once<br />
you are able to operate the half-press and full press effectively,<br />
you can even focus accurately on moving subjects.<br />
g “Shooting” (P. 10), “If correct focus cannot be obtained<br />
(Focus lock)” (P. 35)<br />
However, even if the subject is in focus, the picture can<br />
become blurred if the camera moves while the shutter button is<br />
being pressed. Make sure to hold the camera properly so that<br />
it does not shake. The camera is particularly subject to shaking<br />
when using live view to take pictures while viewing the subject<br />
on the monitor. In addition, it may be necessary to use a tripod<br />
to prevent camera shake even when you feel there is sufficient<br />
lighting.<br />
g “Holding the camera” (P. 10)<br />
Besides out of focus and camera shake problems, the motion of the subject will also cause<br />
the picture to blur. Ability to shoot at a shutter speed that matches the motion of the subject is<br />
essential. You can confirm the shutter speed and aperture on the displays of the viewfinder<br />
and monitor when taking pictures by pressing the shutter button halfway. Check out these<br />
displays during your shooting practices.<br />
g “How to use the mode dial” (P. 17), “Preview function” (P. 34), “Live view” (P. 22)<br />
Halfway<br />
down:<br />
All the way<br />
down:<br />
Brightness: Exposure compensation<br />
The camera automatically determines the aperture value and<br />
shutter speed according to the brightness level. This is known<br />
as auto exposure. However, auto exposure alone may not<br />
result in pictures of your expectations. At times like this, you<br />
can adjust the exposure through increasing or decreasing the<br />
exposure value set by the camera’s auto exposure during<br />
shooting.<br />
Increase the exposure when you want the dazzling sensation<br />
of the summer beach or the whiteness of the snow to stand<br />
out. And decrease the exposure when the area to be shot is smaller and brighter compared to<br />
its surrounding area. If you are unsure how much exposure compensation is required, it is<br />
better to take the picture with various settings.<br />
24 EN<br />
g “Exposure compensation k Varying the image brightness” (P. 53)


