HP-505/503 Manual (PDF) - Roland
HP-505/503 Manual (PDF) - Roland
HP-505/503 Manual (PDF) - Roland

Create successful ePaper yourself
Turn your PDF publications into a flip-book with our unique Google optimized e-Paper software.
Practicing<br />
Saving a performance you’ve recorded<br />
* If you want to save to the USB flash drive (sold separately), connect your USB flash drive to the USB memory port before you continue.<br />
1. Press the [ ] (Fast) button to select “Y.”<br />
Saving will begin.<br />
The recorded performance is saved at the earliest vacant song number.<br />
The song is automatically given a name in this format: “Song nnn,” where “nnn” is the song number.<br />
NOTE<br />
Never turn off the power while the screen indicates “Working...”<br />
Saving to a specific memory, song number, or song name<br />
If you press the [Song] button instead of the [ ] (Fast) button, you’ll be able to specify the save-destination memory, song number, and song<br />
name used for saving.<br />
For details on the procedure, refer to “Saving a Song with the Name You Specify” (p. 39).<br />
Erasing a performance you’ve recorded<br />
1. Use the [ ] (Slow) button to select “N.”<br />
A message will ask you to confirm that you want to erase the song.<br />
2. Press the [ ] (Fast) button to erase the song.<br />
Listening to a performance you’ve recorded<br />
1. Press the [ ] (Play/Stop) button.<br />
Playback will start from the beginning of the recorded performance.<br />
Overdubbing a Recorded Song<br />
When recording an SMF, you can overdub each part separately. For example, you can record the left-hand and right-hand parts separately, or record<br />
along with a song.<br />
Recording each hand separately<br />
You can separately record your left-hand performance to the [Left] button and your right-hand performance to the [Right] button. You can also<br />
separately re-record each hand afterward.<br />
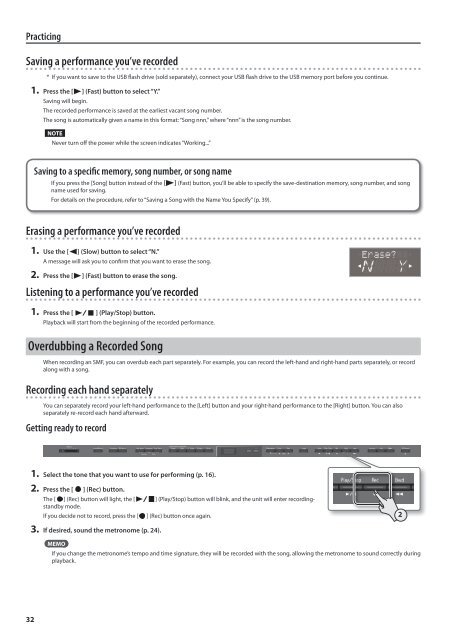
Getting ready to record<br />
1. Select the tone that you want to use for performing (p. 16).<br />
2. Press the [ ] (Rec) button.<br />
The [ ] (Rec) button will light, the [ ] (Play/Stop) button will blink, and the unit will enter recordingstandby<br />
mode.<br />
If you decide not to record, press the [<br />
] (Rec) button once again.<br />
2<br />
3. If desired, sound the metronome (p. 24).<br />
MEMO<br />
If you change the metronome’s tempo and time signature, they will be recorded with the song, allowing the metronome to sound correctly during<br />
playback.<br />
32