USB / S / RE - Seattle Coffee Gear
USB / S / RE - Seattle Coffee Gear
USB / S / RE - Seattle Coffee Gear

You also want an ePaper? Increase the reach of your titles
YUMPU automatically turns print PDFs into web optimized ePapers that Google loves.
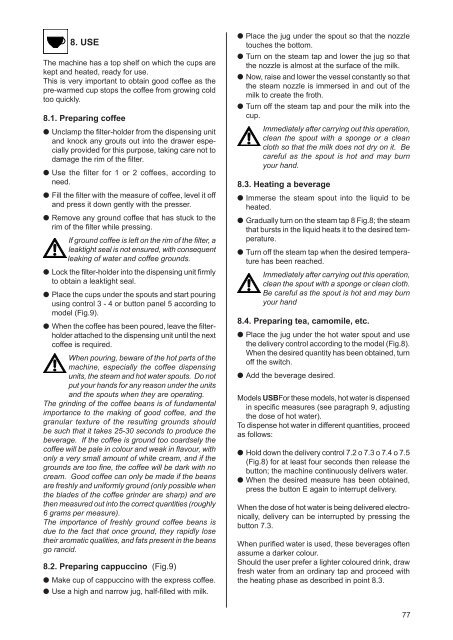
8. USE<br />
The machine has a top shelf on which the cups are<br />
kept and heated, ready for use.<br />
This is very important to obtain good coffee as the<br />
pre-warmed cup stops the coffee from growing cold<br />
too quickly.<br />
8.1. Preparing coffee<br />
Unclamp the filter-holder from the dispensing unit<br />
and knock any grouts out into the drawer especially<br />
provided for this purpose, taking care not to<br />
damage the rim of the filter.<br />
Use the filter for 1 or 2 coffees, according to<br />
need.<br />
Fill the filter with the measure of coffee, level it off<br />
and press it down gently with the presser.<br />
Remove any ground coffee that has stuck to the<br />
rim of the filter while pressing.<br />
If ground coffee is left on the rim of the filter, a<br />
leaktight seal is not ensured, with consequent<br />
leaking of water and coffee grounds.<br />
Lock the filter-holder into the dispensing unit firmly<br />
to obtain a leaktight seal.<br />
Place the cups under the spouts and start pouring<br />
using control 3 - 4 or button panel 5 according to<br />
model (Fig.9).<br />
When the coffee has been poured, leave the filterholder<br />
attached to the dispensing unit until the next<br />
coffee is required.<br />
When pouring, beware of the hot parts of the<br />
machine, especially the coffee dispensing<br />
units, the steam and hot water spouts. Do not<br />
put your hands for any reason under the units<br />
and the spouts when they are operating.<br />
The grinding of the coffee beans is of fundamental<br />
importance to the making of good coffee, and the<br />
granular texture of the resulting grounds should<br />
be such that it takes 25-30 seconds to produce the<br />
beverage. If the coffee is ground too coardsely the<br />
coffee will be pale in colour and weak in flavour, with<br />
only a very small amount of white cream, and if the<br />
grounds are too fine, the coffee will be dark with no<br />
cream. Good coffee can only be made if the beans<br />
are freshly and uniformly ground (only possible when<br />
the blades of the coffee grinder are sharp) and are<br />
then measured out into the correct quantities (roughly<br />
6 grams per measure).<br />
The importance of freshly ground coffee beans is<br />
due to the fact that once ground, they rapidly lose<br />
their aromatic qualities, and fats present in the beans<br />
go rancid.<br />
8.2. Preparing cappuccino (Fig.9)<br />
Make cup of cappuccino with the express coffee.<br />
Use a high and narrow jug, half-filled with milk.<br />
Place the jug under the spout so that the nozzle<br />
touches the bottom.<br />
Turn on the steam tap and lower the jug so that<br />
the nozzle is almost at the surface of the milk.<br />
Now, raise and lower the vessel constantly so that<br />
the steam nozzle is immersed in and out of the<br />
milk to create the froth.<br />
Turn off the steam tap and pour the milk into the<br />
cup.<br />
Immediately after carrying out this operation,<br />
clean the spout with a sponge or a clean<br />
cloth so that the milk does not dry on it. Be<br />
careful as the spout is hot and may burn<br />
your hand.<br />
8.3. Heating a beverage<br />
Immerse the steam spout into the liquid to be<br />
heated.<br />
Gradually turn on the steam tap 8 Fig.8; the steam<br />
that bursts in the liquid heats it to the desired temperature.<br />
Turn off the steam tap when the desired temperature<br />
has been reached.<br />
Immediately after carrying out this operation,<br />
clean the spout with a sponge or clean cloth.<br />
Be careful as the spout is hot and may burn<br />
your hand<br />
8.4. Preparing tea, camomile, etc.<br />
Place the jug under the hot water spout and use<br />
the delivery control according to the model (Fig.8).<br />
When the desired quantity has been obtained, turn<br />
off the switch.<br />
Add the beverage desired.<br />
Models <strong>USB</strong>For these models, hot water is dispensed<br />
in specific measures (see paragraph 9, adjusting<br />
the dose of hot water).<br />
To dispense hot water in different quantities, proceed<br />
as follows:<br />
Hold down the delivery control 7.2 o 7.3 o 7.4 o 7.5<br />
(Fig.8) for at least four seconds then release the<br />
button; the machine continuously delivers water.<br />
When the desired measure has been obtained,<br />
press the button E again to interrupt delivery.<br />
When the dose of hot water is being delivered electronically,<br />
delivery can be interrupted by pressing the<br />
button 7.3.<br />
When purified water is used, these beverages often<br />
assume a darker colour.<br />
Should the user prefer a lighter coloured drink, draw<br />
fresh water from an ordinary tap and proceed with<br />
the heating phase as described in point 8.3.<br />
77