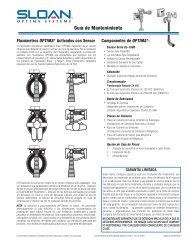
SloanStone EW-72000/73000 Installation Instructions - Sloan Valve ...
SloanStone EW-72000/73000 Installation Instructions - Sloan Valve ...
SloanStone EW-72000/73000 Installation Instructions - Sloan Valve ...

You also want an ePaper? Increase the reach of your titles
YUMPU automatically turns print PDFs into web optimized ePapers that Google loves.
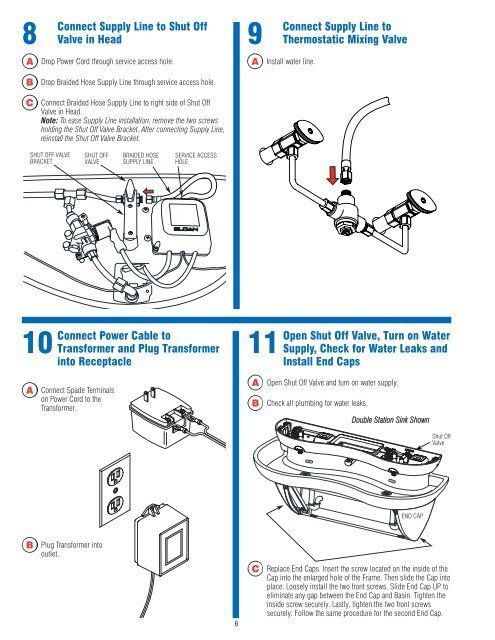
8<br />
Connect<br />
Supply Line to Shut Off<br />
<strong>Valve</strong> in Head<br />
9<br />
Connect<br />
Supply Line to<br />
Thermostatic Mixing <strong>Valve</strong><br />
A<br />
Drop Power Cord through service access hole.<br />
A<br />
Install water line.<br />
B<br />
Drop Braided Hose Supply Line through service access hole.<br />
C<br />
Connect Braided Hose Supply Line to right side of Shut Off<br />
<strong>Valve</strong> in Head.<br />
Note: To ease Supply Line installation, remove the two screws<br />
holding the Shut Off <strong>Valve</strong> Bracket. After connecting Supply Line,<br />
reinstall the Shut Off <strong>Valve</strong> Bracket.<br />
SHUT OFF VALVE<br />
BRACKET<br />
SHUT OFF<br />
VALVE<br />
BRAIDED HOSE<br />
SUPPLY LINE<br />
SERVICE ACCESS<br />
HOLE<br />
10<br />
Connect Power Cable to<br />
Transformer and Plug Transformer<br />
into Receptacle<br />
11<br />
Open Shut Off <strong>Valve</strong>, Turn on Water<br />
Supply, Check for Water Leaks and<br />
Install End Caps<br />
A<br />
Connect Spade Terminals<br />
on Power Cord to the<br />
Transformer.<br />
A<br />
B<br />
Open Shut Off <strong>Valve</strong> and turn on water supply.<br />
Check all plumbing for water leaks.<br />
Double Station Sink Shown<br />
Shut Off<br />
<strong>Valve</strong><br />
END CAP<br />
B<br />
Plug Transformer into<br />
outlet.<br />
6<br />
C<br />
Replace End Caps. Insert the screw located on the inside of the<br />
Cap into the enlarged hole of the Frame. Then slide the Cap into<br />
place. Loosely install the two front screws. Slide End Cap UP to<br />
eliminate any gap between the End Cap and Basin. Tighten the<br />
inside screw securely. Lastly, tighten the two front screws<br />
securely. Follow the same procedure for the second End Cap.