AX3000G Owner's manual - Korg
AX3000G Owner's manual - Korg
AX3000G Owner's manual - Korg

You also want an ePaper? Increase the reach of your titles
YUMPU automatically turns print PDFs into web optimized ePapers that Google loves.
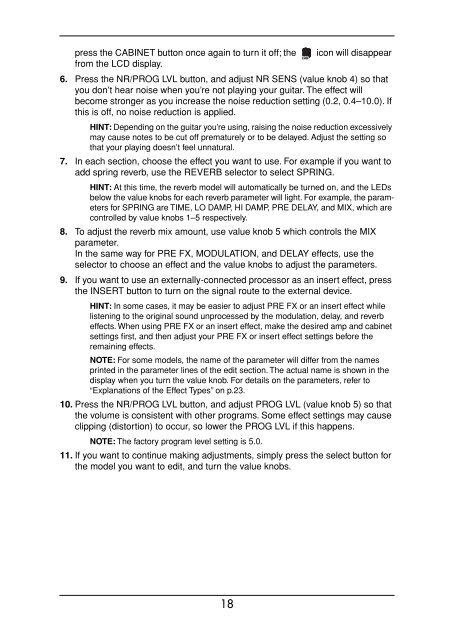
press the CABINET button once again to turn it off; the icon will disappear<br />
from the LCD display.<br />
6. Press the NR/PROG LVL button, and adjust NR SENS (value knob 4) so that<br />
you don’t hear noise when you’re not playing your guitar. The effect will<br />
become stronger as you increase the noise reduction setting (0.2, 0.4–10.0). If<br />
this is off, no noise reduction is applied.<br />
HINT: Depending on the guitar you’re using, raising the noise reduction excessively<br />
may cause notes to be cut off prematurely or to be delayed. Adjust the setting so<br />
that your playing doesn’t feel unnatural.<br />
7. In each section, choose the effect you want to use. For example if you want to<br />
add spring reverb, use the REVERB selector to select SPRING.<br />
HINT: At this time, the reverb model will automatically be turned on, and the LEDs<br />
below the value knobs for each reverb parameter will light. For example, the parameters<br />
for SPRING are TIME, LO DAMP, HI DAMP, PRE DELAY, and MIX, which are<br />
controlled by value knobs 1–5 respectively.<br />
8. To adjust the reverb mix amount, use value knob 5 which controls the MIX<br />
parameter.<br />
In the same way for PRE FX, MODULATION, and DELAY effects, use the<br />
selector to choose an effect and the value knobs to adjust the parameters.<br />
9. If you want to use an externally-connected processor as an insert effect, press<br />
the INSERT button to turn on the signal route to the external device.<br />
HINT: In some cases, it may be easier to adjust PRE FX or an insert effect while<br />
listening to the original sound unprocessed by the modulation, delay, and reverb<br />
effects. When using PRE FX or an insert effect, make the desired amp and cabinet<br />
settings first, and then adjust your PRE FX or insert effect settings before the<br />
remaining effects.<br />
NOTE: For some models, the name of the parameter will differ from the names<br />
printed in the parameter lines of the edit section. The actual name is shown in the<br />
display when you turn the value knob. For details on the parameters, refer to<br />
“Explanations of the Effect Types” on p.23.<br />
10. Press the NR/PROG LVL button, and adjust PROG LVL (value knob 5) so that<br />
the volume is consistent with other programs. Some effect settings may cause<br />
clipping (distortion) to occur, so lower the PROG LVL if this happens.<br />
NOTE: The factory program level setting is 5.0.<br />
11. If you want to continue making adjustments, simply press the select button for<br />
the model you want to edit, and turn the value knobs.<br />
18