
You also want an ePaper? Increase the reach of your titles
YUMPU automatically turns print PDFs into web optimized ePapers that Google loves.
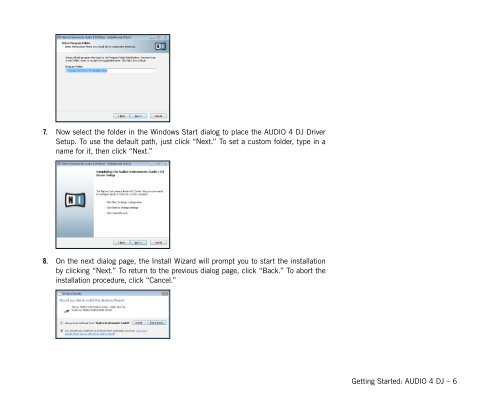
7. Now select the folder in the Windows Start dialog to place the <strong>AUDIO</strong> 4 <strong>DJ</strong> Driver<br />
Setup. To use the default path, just click “Next.” To set a custom folder, type in a<br />
name for it, then click “Next.”<br />
8. On the next dialog page, the Install Wizard will prompt you to start the installation<br />
by clicking “Next.” To return to the previous dialog page, click “Back.” To abort the<br />
installation procedure, click “Cancel.”<br />
<strong>Getting</strong> <strong>Started</strong>: <strong>AUDIO</strong> 4 <strong>DJ</strong> <strong>–</strong> 6