EVAP Vent Control Valve Diagnostics - Lyberty
EVAP Vent Control Valve Diagnostics - Lyberty
EVAP Vent Control Valve Diagnostics - Lyberty

Create successful ePaper yourself
Turn your PDF publications into a flip-book with our unique Google optimized e-Paper software.
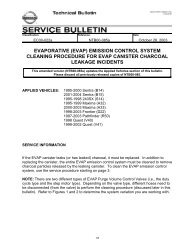
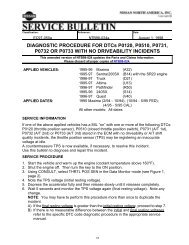
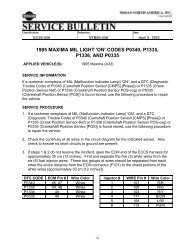
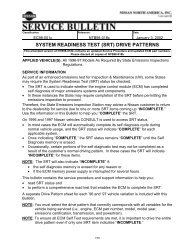
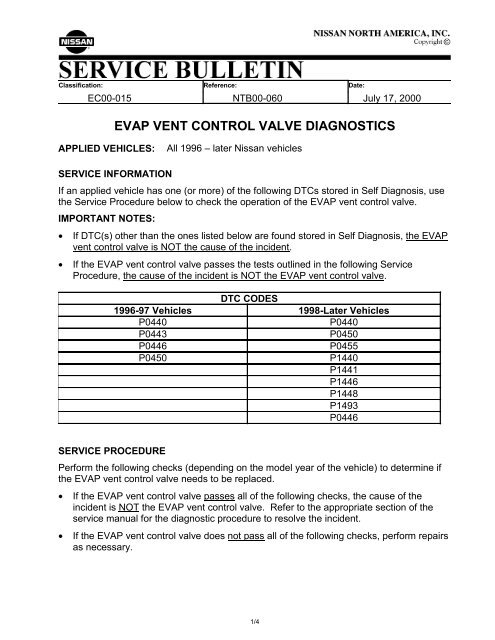
Classification: Reference: Date:<br />
EC00-015 NTB00-060 July 17, 2000<br />
<strong>EVAP</strong> VENT CONTROL VALVE DIAGNOSTICS<br />
APPLIED VEHICLES:<br />
All 1996 – later Nissan vehicles<br />
SERVICE INFORMATION<br />
If an applied vehicle has one (or more) of the following DTCs stored in Self Diagnosis, use<br />
the Service Procedure below to check the operation of the <strong>EVAP</strong> vent control valve.<br />
IMPORTANT NOTES:<br />
• If DTC(s) other than the ones listed below are found stored in Self Diagnosis, the <strong>EVAP</strong><br />
vent control valve is NOT the cause of the incident.<br />
• If the <strong>EVAP</strong> vent control valve passes the tests outlined in the following Service<br />
Procedure, the cause of the incident is NOT the <strong>EVAP</strong> vent control valve.<br />
DTC CODES<br />
1996-97 Vehicles 1998-Later Vehicles<br />
P0440<br />
P0440<br />
P0443<br />
P0450<br />
P0446<br />
P0455<br />
P0450<br />
P1440<br />
P1441<br />
P1446<br />
P1448<br />
P1493<br />
P0446<br />
SERVICE PROCEDURE<br />
Perform the following checks (depending on the model year of the vehicle) to determine if<br />
the <strong>EVAP</strong> vent control valve needs to be replaced.<br />
• If the <strong>EVAP</strong> vent control valve passes all of the following checks, the cause of the<br />
incident is NOT the <strong>EVAP</strong> vent control valve. Refer to the appropriate section of the<br />
service manual for the diagnostic procedure to resolve the incident.<br />
• If the <strong>EVAP</strong> vent control valve does not pass all of the following checks, perform repairs<br />
as necessary.<br />
1/4
1996-97 Vehicles<br />
1. Check the operation of the <strong>EVAP</strong> vent control valve using a 12VDC battery source as<br />
follows:<br />
A. Apply battery voltage (see Figure 1) and look into the hose end of the valve to<br />
confirm the air passage closes (and seals).<br />
NOTE: The valve must function (click) on the first application of battery voltage.<br />
Figure 1<br />
B. While looking into the hose end of the valve, disconnect the battery voltage and<br />
confirm the air passage re-opens fully and immediately (the valve should not stick<br />
closed).<br />
C. Repeat steps A and B above to confirm the valve closes and re-opens consistently.<br />
2. Confirm the sealing O-ring (for the valve) is:<br />
• Correctly positioned and is not damaged (see Figure 1)<br />
• Adequately lubricated with Texaco Canopus 13 mineral oil (P/N 999MP-AJ000)<br />
3. Make sure the water separator and related hoses are not blocked by debris or insects.<br />
NOTE: If a Maxima, Truck or 240SX is not equipped with a water separator, refer to the<br />
following TSB(s) to install one.<br />
TSB FOR WATER SEPARATOR KIT INSTALLATION<br />
Model<br />
TSB Number<br />
Maxima (A32)<br />
NTB96-078<br />
Truck (D21)<br />
NTB97-074<br />
240SX (S14)<br />
NTB97-078<br />
2/4
1998 and Later CONSULT Compatible Vehicles<br />
1. Check the operation of the <strong>EVAP</strong> vent control valve using CONSULT or CONSULT-II as<br />
follows:<br />
A. Connect CONSULT (or CONSULT-II) and turn the ignition key to the ON position.<br />
Do not start the engine.<br />
B. Touch “Start”.<br />
C. Touch “Engine”.<br />
D. Touch “Active Test”.<br />
E. Touch “<strong>Vent</strong> <strong>Control</strong>/V”.<br />
F. Touch “ON” and look into the hose end of the valve to confirm the air passage<br />
closes (and seals).<br />
NOTE: The valve must function (click) on the first application of the “ON” selection.<br />
G. While looking into the hose end of the valve, touch “OFF” and confirm the air<br />
passage re-opens fully and immediately (the valve should not stick closed).<br />
H. Repeat steps F and G above to confirm the valve closes and re-opens consistently.<br />
2. Confirm the sealing O-ring (for the valve) is:<br />
• Correctly positioned and is not damaged (see Figure 1)<br />
• Adequately lubricated with Texaco Canopus 13 mineral oil (P/N 999MP-AJ000)<br />
3. Make sure the water separator and related hoses are not blocked by debris or insects.<br />
NOTE: If a Maxima, Truck or 240SX is not equipped with a water separator, refer to the<br />
TSB(s) in the table above to install one.<br />
CLAIMS INFORMATION<br />
If applicable, submit a Primary Failed Part (PP) line claim using the following claims coding:<br />
For 1996-97 vehicles:<br />
DESCRIPTION PFP OP CODE SYM DIA FRT<br />
CONSULT Diagnosis (1) DE888A HD 32 0.6 hrs.<br />
Replace <strong>EVAP</strong> Canister<br />
<strong>Vent</strong> <strong>Control</strong> <strong>Valve</strong><br />
FC50AA (2)<br />
(1) Reference the appropriate vehicle Parts Catalog and use the indicated <strong>EVAP</strong> <strong>Vent</strong><br />
<strong>Control</strong> <strong>Valve</strong> P/N as the PFP.<br />
(2) Reference the current Nissan “Warranty Flat Rate Manual” and use the indicated<br />
“FC50AA” flat rate time for the vehicle being serviced.<br />
3/4
For 1998-later vehicles:<br />
DESCRIPTION PFP OP CODE SYM DIA FRT<br />
Diagnosis (1) (2) HD 32 (2)<br />
Replace <strong>EVAP</strong> Canister<br />
<strong>Vent</strong> <strong>Control</strong> <strong>Valve</strong><br />
FC50AA (3)<br />
(1) Reference the appropriate vehicle Parts Catalog and use the indicated <strong>EVAP</strong> <strong>Vent</strong><br />
<strong>Control</strong> <strong>Valve</strong> P/N as the PFP.<br />
(2) Reference Section “EE” of the current Nissan “Warranty Flat Rate Manual” and use the<br />
indicated diagnostic Op Code and flat rate time for the DTC as determined using<br />
CONSULT.<br />
(3) Reference the current Nissan “Warranty Flat Rate Manual” and use the indicated<br />
“FC50AA” flat rate time for the vehicle being serviced.<br />
4/4