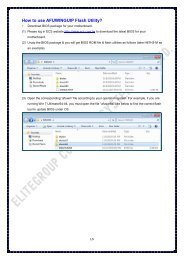
How to use AMI Flash Utility? - ECS
How to use AMI Flash Utility? - ECS
How to use AMI Flash Utility? - ECS

Create successful ePaper yourself
Turn your PDF publications into a flip-book with our unique Google optimized e-Paper software.
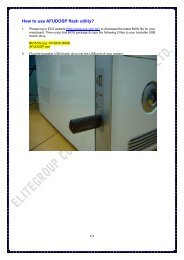
<strong>How</strong> <strong>to</strong> <strong>use</strong> <strong>AMI</strong> <strong>Flash</strong> <strong>Utility</strong>?<br />
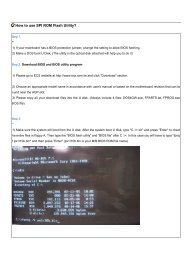
Step 1.<br />
(1) If your mainboard has a BIOS protection jumper, change the setting <strong>to</strong> allow BIOS flashing.<br />
(2) Make a DOS boot diskette. (See example: Windows 98 O.S.)<br />
Beware: Windows 2000/Me are not allowed <strong>to</strong> make a DOS boot diskette.<br />
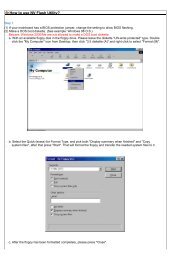
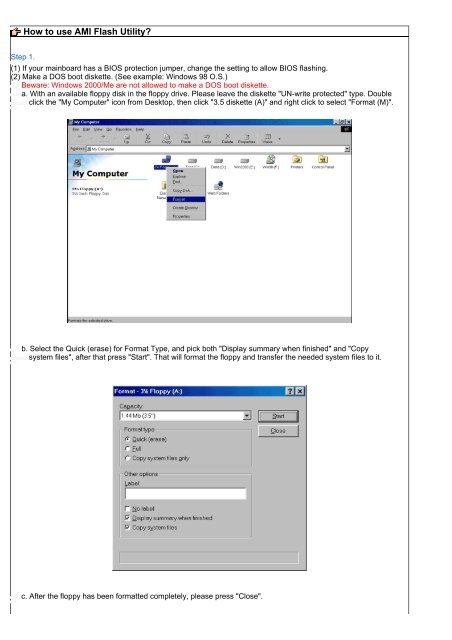
a. With an available floppy disk in the floppy drive. Please leave the diskette "UN-write protected" type. Double<br />
click the "My Computer" icon from Desk<strong>to</strong>p, then click "3.5 diskette (A)" and right click <strong>to</strong> select "Format (M)".<br />
b. Select the Quick (erase) for Format Type, and pick both "Display summary when finished" and "Copy<br />
system files", after that press "Start". That will format the floppy and transfer the needed system files <strong>to</strong> it.<br />
c. After the floppy has been formatted completely, please press "Close".
Step 2. Download BIOS and BIOS utility program<br />
(1) Please go <strong>to</strong> <strong>ECS</strong> website at http://www.ecs.com.tw and click "Download " section.<br />
(2) Choose an appropriate model name in accordance with <strong>use</strong>r's manual or based on the motherboard<br />
revision that can be found near the AGP slot.<br />
Step 3.<br />
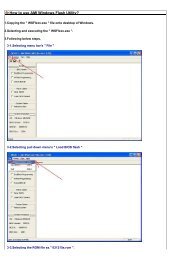
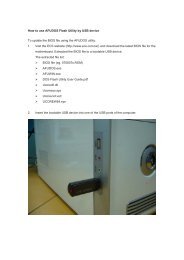
(1) Make sure the system will boot from the floppy disk. After the system boot from floppy disk, type "A:\> dir" and<br />
press "Enter" <strong>to</strong> check the entire files in floppy A. Then type the "BIOS flash utility" and "BIOS file" after A:\>. In<br />
this case you have <strong>to</strong> type "A:\>aminf330 020429.rom " and then press "Enter".<br />
(2) Now screen appears the following <strong>Flash</strong> <strong>Utility</strong> screen. Please check whether new BIOS tag is correct. Right<br />
after that, press [Enter] <strong>to</strong> start BIOS flash procedure or press [Esc] <strong>to</strong> abort.<br />
Beware: Please do not turn off the system while you are upgrading BIOS. It will render your BIOS corrupted<br />
and system <strong>to</strong>tally inoperative.
(3) When the BIOS flash completed. It will au<strong>to</strong> restart the system.<br />
Step 4. Load BIOS defaults<br />
(1) Normally the system redetects all devices after BIOS has been upgraded. Therefore, we highly recommend<br />
reloading the BIOS defaults after BIOS has been upgraded. This important step resets everything after the<br />
flash.<br />
(2) The boot up screen will indicate your motherboard model and current BIOS version.<br />
(3) Press [F1] key <strong>to</strong> enter BIOS setup when system is boot up. Use the arrows <strong>to</strong> highlight the item "LOAD<br />
OPTIMAL SETTINGS" then press "Enter". System will ask "Load Optimal Settings (Y/N)?" Press "Y" and<br />
"Enter" keys <strong>to</strong> confirm.<br />
Then press [F10] key <strong>to</strong> save & exit setup.
© 2006 Elitegroup Computer Systems. All Rights Reserved