PatternMaker Garment Collection - PatternMaker Software
PatternMaker Garment Collection - PatternMaker Software
PatternMaker Garment Collection - PatternMaker Software

You also want an ePaper? Increase the reach of your titles
YUMPU automatically turns print PDFs into web optimized ePapers that Google loves.
Men/Young Men’s <strong>Collection</strong><br />
measurements.<br />
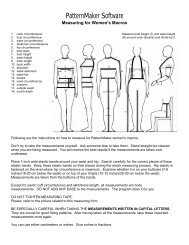
If you want to make clothes for more than one person, photocopy the measurement form (both<br />
sides) for each subject. Don’t write on the original before you copy it! You will use these<br />
measurements for all the macros, so keep the form in a safe place for future reference. Don’t<br />
forget to fill in the name and date – you may not remember whose measurements these are a few<br />
months from now.<br />
• Make a test muslin. This is especially important the first time you use the macros to make sure<br />
your measurements are good. Make a test garment out of inexpensive fabric before you cut into<br />
your actual garment fabric. If the test garment doesn’t fit right, adjust your measurements and try<br />
again.<br />
• Run the macro for the garment you want. <strong>PatternMaker</strong> will ask you for some measurements,<br />
which you will type in. Then it will draw the pattern. If you already have a pattern on the screen,<br />
the new items will be added to it. You can now use all of <strong>PatternMaker</strong>’s various features to modify<br />
your pattern, if you wish. Or you can just print it out and sew it.<br />
• Add seam allowances. The macros in this collection do not automatically draw seam allowances<br />
for the patterns, so if you want a printed seam allowance, use the OFFSET command to add it.<br />
Suggested amounts are ¼ inch (.5 cm) for collars, (½ inch (1 cm) for most seams and 1½ inch (3<br />
cm) for trouser hems.<br />
• Arrange for printing. You may need to use the MOVE and ROTATE commands to arrange the<br />
pieces for the most efficient printing.<br />
• Print your pattern. If you have a small desktop printer, you will need to tape the pages together.<br />
The pages will be marked to make it easy to assemble them.<br />
• Cut out and sew your new garment. This booklet gives you most of the sewing instructions you<br />
need, but always rely on your common sense. We hope you enjoy your new clothes!<br />
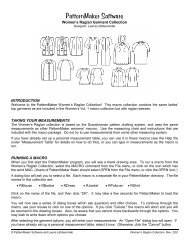
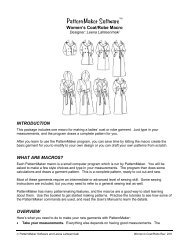
RUNNING A MACRO<br />
When you first start the <strong>PatternMaker</strong> program, you will see a blank drawing area. To run the macros,<br />
select the MACRO command from the File menu, or click on the icon which has the word MAC. (Users of<br />
<strong>PatternMaker</strong> Basic should select OPEN from the File menu, or click the OPEN icon.)<br />
A dialog box will ask you to select a file. Each macro is a separate file in your <strong>PatternMaker</strong> directory.<br />
Descriptions of each macro are given later in this book. The file names in this collection are:<br />
• MJACKET • MPANTS • MSHIRT • MVEST<br />
• TBPANTS • TBSHIRT<br />
Click on the name of the file, and then click “OK”. It may take a few seconds for <strong>PatternMaker</strong> to load the<br />
macro.<br />
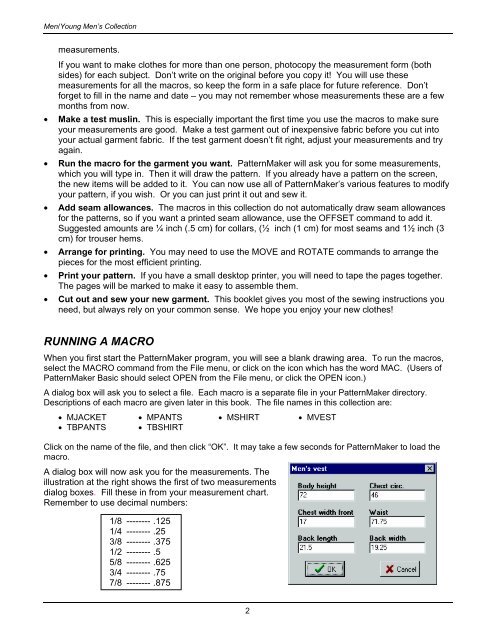
A dialog box will now ask you for the measurements. The<br />
illustration at the right shows the first of two measurements<br />
dialog boxes. Fill these in from your measurement chart.<br />
Remember to use decimal numbers:<br />
1/8 -------- .125<br />
1/4 -------- .25<br />
3/8 -------- .375<br />
1/2 -------- .5<br />
5/8 -------- .625<br />
3/4 -------- .75<br />
7/8 -------- .875<br />
2