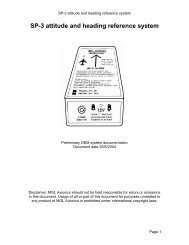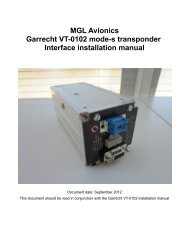
Enigma/Odyssey installation manual - MGL Avionics
Enigma/Odyssey installation manual - MGL Avionics
Enigma/Odyssey installation manual - MGL Avionics

You also want an ePaper? Increase the reach of your titles
YUMPU automatically turns print PDFs into web optimized ePapers that Google loves.
<strong>Enigma</strong>/<strong>Odyssey</strong> <strong>installation</strong> <strong>manual</strong><br />
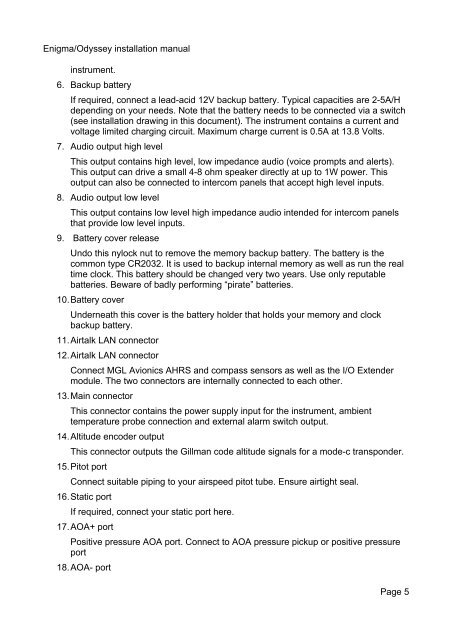
instrument.<br />
6. Backup battery<br />
If required, connect a lead-acid 12V backup battery. Typical capacities are 2-5A/H<br />
depending on your needs. Note that the battery needs to be connected via a switch<br />
(see <strong>installation</strong> drawing in this document). The instrument contains a current and<br />
voltage limited charging circuit. Maximum charge current is 0.5A at 13.8 Volts.<br />
7. Audio output high level<br />
This output contains high level, low impedance audio (voice prompts and alerts).<br />
This output can drive a small 4-8 ohm speaker directly at up to 1W power. This<br />
output can also be connected to intercom panels that accept high level inputs.<br />
8. Audio output low level<br />
This output contains low level high impedance audio intended for intercom panels<br />
that provide low level inputs.<br />
9. Battery cover release<br />
Undo this nylock nut to remove the memory backup battery. The battery is the<br />
common type CR2032. It is used to backup internal memory as well as run the real<br />
time clock. This battery should be changed very two years. Use only reputable<br />
batteries. Beware of badly performing “pirate” batteries.<br />
10.Battery cover<br />
Underneath this cover is the battery holder that holds your memory and clock<br />
backup battery.<br />
11.Airtalk LAN connector<br />
12.Airtalk LAN connector<br />
Connect <strong>MGL</strong> <strong>Avionics</strong> AHRS and compass sensors as well as the I/O Extender<br />
module. The two connectors are internally connected to each other.<br />
13.Main connector<br />
This connector contains the power supply input for the instrument, ambient<br />
temperature probe connection and external alarm switch output.<br />
14.Altitude encoder output<br />
This connector outputs the Gillman code altitude signals for a mode-c transponder.<br />
15.Pitot port<br />
Connect suitable piping to your airspeed pitot tube. Ensure airtight seal.<br />
16.Static port<br />
If required, connect your static port here.<br />
17.AOA+ port<br />
Positive pressure AOA port. Connect to AOA pressure pickup or positive pressure<br />
port<br />
18.AOA- port<br />
Page 5