

Linksys WAP300N User Guide - eStore.com.au
Linksys WAP300N User Guide - eStore.com.au
Linksys WAP300N User Guide - eStore.com.au

Create successful ePaper yourself
Turn your PDF publications into a flip-book with our unique Google optimized e-Paper software.
<strong>Linksys</strong> <strong>WAP300N</strong><br />
Setting Up: Basics<br />
How to install your <strong>WAP300N</strong><br />
The easiest way to install your <strong>WAP300N</strong> is to use the included Setup CD.<br />
NOTE<br />
The Setup CD can only help you set up the <strong>WAP300N</strong> in Access<br />
Point mode. For more information and examples of other modes,<br />
see the diagrams on pages 4 to 7.<br />
To install your <strong>WAP300N</strong>:<br />
1. Insert the CD into your CD or DVD drive. Make sure that the <strong>com</strong>puter is<br />
already connected to your home network.<br />
2. Click Set up your wireless access point.<br />
If you do not see this:<br />
For Windows, find and click Computer, then double-click the CD drive<br />
and the Setup icon.<br />
For Mac, double-click the CD icon on your desktop, then double-click the<br />
Setup icon.<br />
3. Follow the on-screen instructions.<br />
How to open the browser-based utility<br />
For advanced configuration of the <strong>WAP300N</strong>, you need to open the browserbased<br />
utility.<br />
TIPS<br />
• If the <strong>WAP300N</strong> is connected to a network with a DHCP server<br />
(usually the network router), find the device’s IP address in<br />
the DHCP client table of your router (refer to your router’s<br />
documentation for help). Use that IP address to open the<br />
browser-based utility.<br />
• If there is no DHCP server, or if the <strong>WAP300N</strong> is not wirelessly<br />
connected to any other device and it is connected with an<br />
Ethernet cable directly to a <strong>com</strong>puter, then the <strong>WAP300N</strong> uses<br />
10.100.1.1 as its IP address until a DHCP server is detected.<br />
• If you set a static IP address for the <strong>WAP300N</strong> through the<br />
browser-based utility, then enter the static IP address instead.<br />
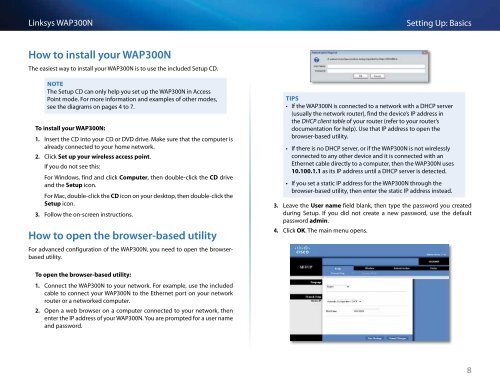
3. Leave the <strong>User</strong> name field blank, then type the password you created<br />
during Setup. If you did not create a new password, use the def<strong>au</strong>lt<br />
password admin.<br />
4. Click OK. The main menu opens.<br />
To open the browser-based utility:<br />
1. Connect the <strong>WAP300N</strong> to your network. For example, use the included<br />
cable to connect your <strong>WAP300N</strong> to the Ethernet port on your network<br />
router or a networked <strong>com</strong>puter.<br />
2. Open a web browser on a <strong>com</strong>puter connected to your network, then<br />
enter the IP address of your <strong>WAP300N</strong>. You are prompted for a user name<br />
and password.<br />
8