

Standard (22-132) 1. Read through installation ... - Classic Auto Air
Standard (22-132) 1. Read through installation ... - Classic Auto Air
Standard (22-132) 1. Read through installation ... - Classic Auto Air

Create successful ePaper yourself
Turn your PDF publications into a flip-book with our unique Google optimized e-Paper software.
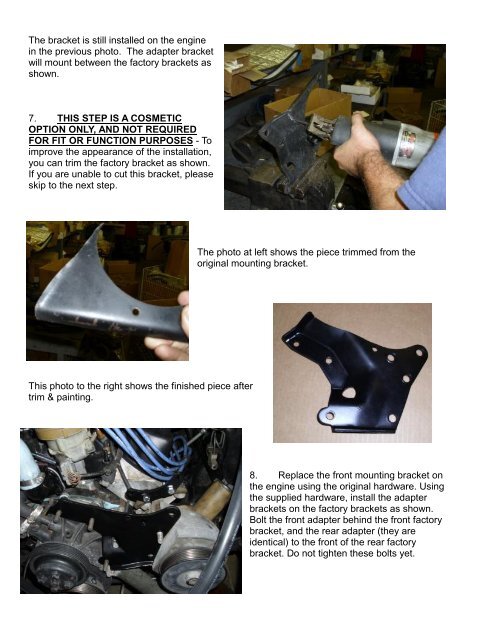
The bracket is still installed on the engine<br />
in the previous photo. The adapter bracket<br />
will mount between the factory brackets as<br />
shown.<br />
7. THIS STEP IS A COSMETIC<br />
OPTION ONLY, AND NOT REQUIRED<br />
FOR FIT OR FUNCTION PURPOSES - To<br />
improve the appearance of the <strong>installation</strong>,<br />
you can trim the factory bracket as shown.<br />
If you are unable to cut this bracket, please<br />
skip to the next step.<br />
The photo at left shows the piece trimmed from the<br />
original mounting bracket.<br />
This photo to the right shows the finished piece after<br />
trim & painting.<br />
8. Replace the front mounting bracket on<br />
the engine using the original hardware. Using<br />
the supplied hardware, install the adapter<br />
brackets on the factory brackets as shown.<br />
Bolt the front adapter behind the front factory<br />
bracket, and the rear adapter (they are<br />
identical) to the front of the rear factory<br />
bracket. Do not tighten these bolts yet.


