Installation Guide - Casewise
Installation Guide - Casewise
Installation Guide - Casewise

You also want an ePaper? Increase the reach of your titles
YUMPU automatically turns print PDFs into web optimized ePapers that Google loves.
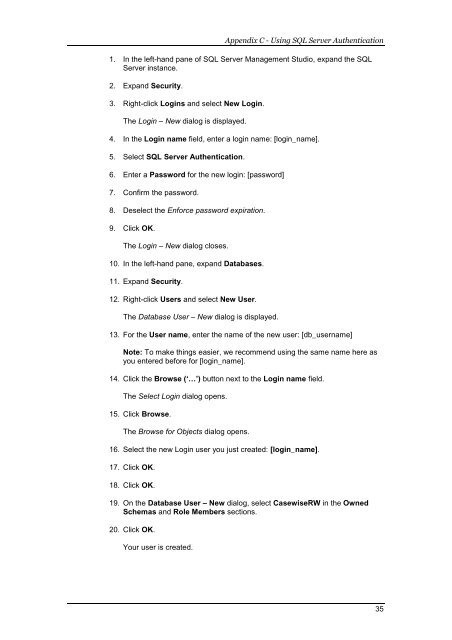
Appendix C - Using SQL Server Authentication<br />
1. In the left-hand pane of SQL Server Management Studio, expand the SQL<br />
Server instance.<br />
2. Expand Security.<br />
3. Right-click Logins and select New Login.<br />
The Login – New dialog is displayed.<br />
4. In the Login name field, enter a login name: [login_name].<br />
5. Select SQL Server Authentication.<br />
6. Enter a Password for the new login: [password]<br />
7. Confirm the password.<br />
8. Deselect the Enforce password expiration.<br />
9. Click OK.<br />
The Login – New dialog closes.<br />
10. In the left-hand pane, expand Databases.<br />
11. Expand Security.<br />
12. Right-click Users and select New User.<br />
The Database User – New dialog is displayed.<br />
13. For the User name, enter the name of the new user: [db_username]<br />
Note: To make things easier, we recommend using the same name here as<br />
you entered before for [login_name].<br />
14. Click the Browse (‘…’) button next to the Login name field.<br />
The Select Login dialog opens.<br />
15. Click Browse.<br />
The Browse for Objects dialog opens.<br />
16. Select the new Login user you just created: [login_name].<br />
17. Click OK.<br />
18. Click OK.<br />
19. On the Database User – New dialog, select <strong>Casewise</strong>RW in the Owned<br />
Schemas and Role Members sections.<br />
20. Click OK.<br />
Your user is created.<br />
35