Connectors - NEXCOM
Connectors - NEXCOM
Connectors - NEXCOM
Create successful ePaper yourself
Turn your PDF publications into a flip-book with our unique Google optimized e-Paper software.
Preface<br />
Technical Support and Assistance<br />
1. For the most updated information of <strong>NEXCOM</strong> products, visit <strong>NEXCOM</strong>’s<br />
website at www.nexcom.com.<br />
2. For technical issues that require contacting our technical support team or<br />
sales representative, please have the following information ready before<br />
calling:<br />
– Product name and serial number<br />
– Detailed information of the peripheral devices<br />
– Detailed information of the installed software (operating system,<br />
version, application software, etc.)<br />
– A complete description of the problem<br />
– The exact wordings of the error messages<br />
Warning!<br />
1. Handling the unit: carry the unit with both hands and handle it with<br />
care.<br />
2. Maintenance: to keep the unit clean, use only approved cleaning<br />
products or clean with a dry cloth.<br />
3. CompactFlash: Turn off the unit’s power before inserting or removing a<br />
CompactFlash storage card.<br />
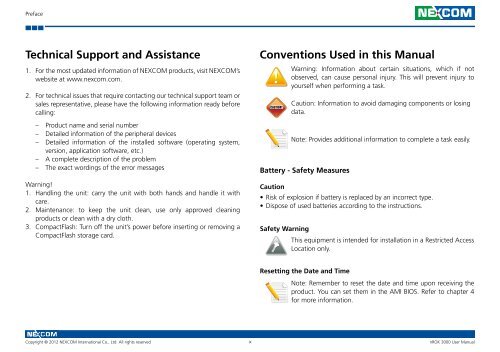
Conventions Used in this Manual<br />
Warning: Information about certain situations, which if not<br />
observed, can cause personal injury. This will prevent injury to<br />
yourself when performing a task.<br />
Caution: Information to avoid damaging components or losing<br />
data.<br />
Note: Provides additional information to complete a task easily.<br />
Copyright © 2012 <strong>NEXCOM</strong> International Co., Ltd. All rights reserved ix<br />
nROK 3000 User Manual<br />
CAUTION!<br />
Battery - Safety Measures<br />
Caution<br />
• Risk of explosion if battery is replaced by an incorrect type.<br />
• Dispose of used batteries according to the instructions.<br />
Safety Warning<br />
This equipment is intended for installation in a Restricted Access<br />
Location only.<br />
Resetting the Date and Time<br />
Note: Remember to reset the date and time upon receiving the<br />
product. You can set them in the AMI BIOS. Refer to chapter 4<br />
for more information.


