User Manual - Videcon
User Manual - Videcon
User Manual - Videcon

Create successful ePaper yourself
Turn your PDF publications into a flip-book with our unique Google optimized e-Paper software.
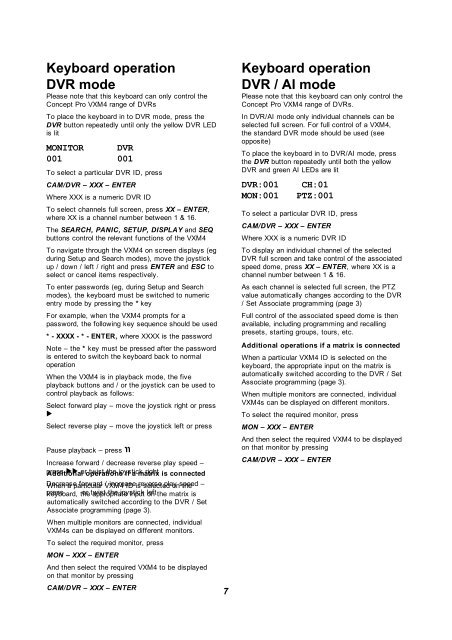
Keyboard operation<br />
DVR mode<br />
Please note that this keyboard can only control the<br />
Concept Pro VXM4 range of DVRs<br />
To place the keyboard in to DVR mode, press the<br />
DVR button repeatedly until only the yellow DVR LED<br />
is lit<br />
MONITOR DVR<br />
001 001<br />
To select a particular DVR ID, press<br />
CAM/DVR – XXX – ENTER<br />
Where XXX is a numeric DVR ID<br />
To select channels full screen, press XX – ENTER,<br />
where XX is a channel number between 1 & 16.<br />
The SEARCH, PANIC, SETUP, DISPLAY and SEQ<br />
buttons control the relevant functions of the VXM4<br />
To navigate through the VXM4 on screen displays (eg<br />
during Setup and Search modes), move the joystick<br />
up / down / left / right and press ENTER and ESC to<br />
select or cancel items respectively.<br />
To enter passwords (eg, during Setup and Search<br />
modes), the keyboard must be switched to numeric<br />
entry mode by pressing the * key<br />
For example, when the VXM4 prompts for a<br />
password, the following key sequence should be used<br />
* - XXXX - * - ENTER, where XXXX is the password<br />
Note – the * key must be pressed after the password<br />
is entered to switch the keyboard back to normal<br />
operation<br />
When the VXM4 is in playback mode, the five<br />
playback buttons and / or the joystick can be used to<br />
control playback as follows:<br />
Select forward play – move the joystick right or press<br />
►<br />
Select reverse play – move the joystick left or press<br />
◄<br />
Pause playback – press<br />
װ Increase forward / decrease reverse play speed –<br />
press Additional ►► or operations twist the joystick if a matrix right is connected<br />
Decrease When a particular forward VXM4 / increase ID is reverse selected play on speed the –<br />
press keyboard, ◄◄ the or twist appropriate the joystick input left on the matrix is<br />
automatically switched according to the DVR / Set<br />
Associate programming (page 3).<br />
When multiple monitors are connected, individual<br />
VXM4s can be displayed on different monitors.<br />
To select the required monitor, press<br />
MON – XXX – ENTER<br />
And then select the required VXM4 to be displayed<br />
on that monitor by pressing<br />
CAM/DVR – XXX – ENTER<br />
7<br />
Keyboard operation<br />
DVR / AI mode<br />
Please note that this keyboard can only control the<br />
Concept Pro VXM4 range of DVRs.<br />
In DVR/AI mode only individual channels can be<br />
selected full screen. For full control of a VXM4,<br />
the standard DVR mode should be used (see<br />
opposite)<br />
To place the keyboard in to DVR/AI mode, press<br />
the DVR button repeatedly until both the yellow<br />
DVR and green AI LEDs are lit<br />
DVR:001 CH:01<br />
MON:001 PTZ:001<br />
To select a particular DVR ID, press<br />
CAM/DVR – XXX – ENTER<br />
Where XXX is a numeric DVR ID<br />
To display an individual channel of the selected<br />
DVR full screen and take control of the associated<br />
speed dome, press XX – ENTER, where XX is a<br />
channel number between 1 & 16.<br />
As each channel is selected full screen, the PTZ<br />
value automatically changes according to the DVR<br />
/ Set Associate programming (page 3)<br />
Full control of the associated speed dome is then<br />
available, including programming and recalling<br />
presets, starting groups, tours, etc.<br />
Additional operations if a matrix is connected<br />
When a particular VXM4 ID is selected on the<br />
keyboard, the appropriate input on the matrix is<br />
automatically switched according to the DVR / Set<br />
Associate programming (page 3).<br />
When multiple monitors are connected, individual<br />
VXM4s can be displayed on different monitors.<br />
To select the required monitor, press<br />
MON – XXX – ENTER<br />
And then select the required VXM4 to be displayed<br />
on that monitor by pressing<br />
CAM/DVR – XXX – ENTER