43-06937 INSERT-EPIC 430 OEM INTEGRATION MANUAL - TransAct
43-06937 INSERT-EPIC 430 OEM INTEGRATION MANUAL - TransAct
43-06937 INSERT-EPIC 430 OEM INTEGRATION MANUAL - TransAct

You also want an ePaper? Increase the reach of your titles
YUMPU automatically turns print PDFs into web optimized ePapers that Google loves.
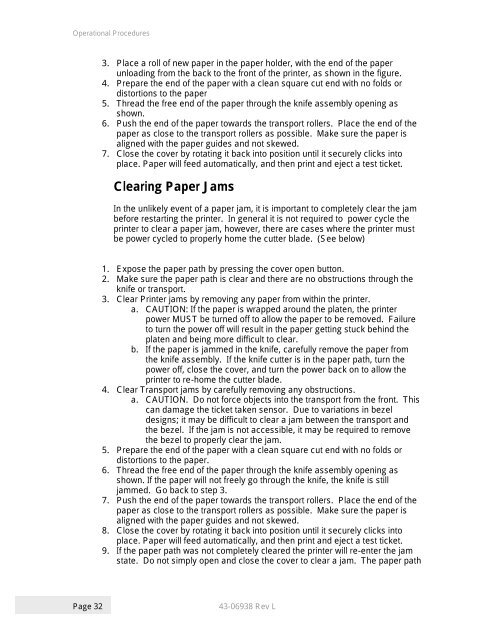
Operational Procedures<br />
3. Place a roll of new paper in the paper holder, with the end of the paper<br />
unloading from the back to the front of the printer, as shown in the figure.<br />
4. Prepare the end of the paper with a clean square cut end with no folds or<br />
distortions to the paper<br />
5. Thread the free end of the paper through the knife assembly opening as<br />
shown.<br />
6. Push the end of the paper towards the transport rollers. Place the end of the<br />
paper as close to the transport rollers as possible. Make sure the paper is<br />
aligned with the paper guides and not skewed.<br />
7. Close the cover by rotating it back into position until it securely clicks into<br />
place. Paper will feed automatically, and then print and eject a test ticket.<br />
Clearing Paper Jams<br />
In the unlikely event of a paper jam, it is important to completely clear the jam<br />
before restarting the printer. In general it is not required to power cycle the<br />
printer to clear a paper jam, however, there are cases where the printer must<br />
be power cycled to properly home the cutter blade. (See below)<br />
1. Expose the paper path by pressing the cover open button.<br />
2. Make sure the paper path is clear and there are no obstructions through the<br />
knife or transport.<br />
3. Clear Printer jams by removing any paper from within the printer.<br />
a. CAUTION: If the paper is wrapped around the platen, the printer<br />
power MUST be turned off to allow the paper to be removed. Failure<br />
to turn the power off will result in the paper getting stuck behind the<br />
platen and being more difficult to clear.<br />
b. If the paper is jammed in the knife, carefully remove the paper from<br />
the knife assembly. If the knife cutter is in the paper path, turn the<br />
power off, close the cover, and turn the power back on to allow the<br />
printer to re-home the cutter blade.<br />
4. Clear Transport jams by carefully removing any obstructions.<br />
a. CAUTION. Do not force objects into the transport from the front. This<br />
can damage the ticket taken sensor. Due to variations in bezel<br />
designs; it may be difficult to clear a jam between the transport and<br />
the bezel. If the jam is not accessible, it may be required to remove<br />
the bezel to properly clear the jam.<br />
5. Prepare the end of the paper with a clean square cut end with no folds or<br />
distortions to the paper.<br />
6. Thread the free end of the paper through the knife assembly opening as<br />
shown. If the paper will not freely go through the knife, the knife is still<br />
jammed. Go back to step 3.<br />
7. Push the end of the paper towards the transport rollers. Place the end of the<br />
paper as close to the transport rollers as possible. Make sure the paper is<br />
aligned with the paper guides and not skewed.<br />
8. Close the cover by rotating it back into position until it securely clicks into<br />
place. Paper will feed automatically, and then print and eject a test ticket.<br />
9. If the paper path was not completely cleared the printer will re-enter the jam<br />
state. Do not simply open and close the cover to clear a jam. The paper path<br />
Page 32<br />
<strong>43</strong>-06938 Rev L