2007-08 WSF Implementation Manual - reach
2007-08 WSF Implementation Manual - reach
2007-08 WSF Implementation Manual - reach

You also want an ePaper? Increase the reach of your titles
YUMPU automatically turns print PDFs into web optimized ePapers that Google loves.
Weighted Student Formula/School Financial Plan <strong>Implementation</strong> <strong>Manual</strong><br />
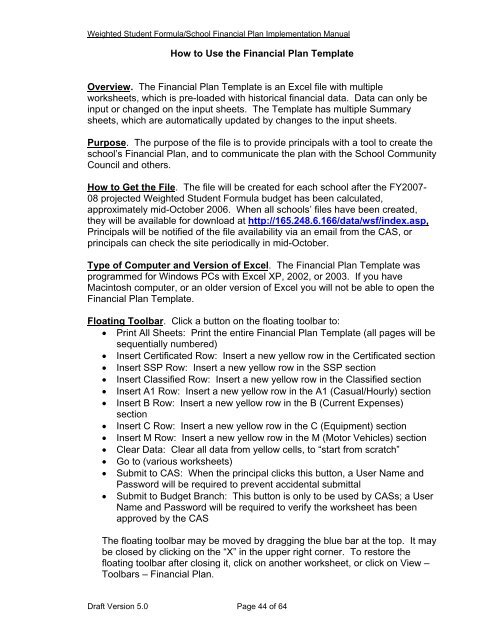
How to Use the Financial Plan Template<br />
Overview. The Financial Plan Template is an Excel file with multiple<br />
worksheets, which is pre-loaded with historical financial data. Data can only be<br />
input or changed on the input sheets. The Template has multiple Summary<br />
sheets, which are automatically updated by changes to the input sheets.<br />
Purpose. The purpose of the file is to provide principals with a tool to create the<br />
school’s Financial Plan, and to communicate the plan with the School Community<br />
Council and others.<br />
How to Get the File. The file will be created for each school after the FY<strong>2007</strong>-<br />
<strong>08</strong> projected Weighted Student Formula budget has been calculated,<br />
approximately mid-October 2006. When all schools’ files have been created,<br />
they will be available for download at http://165.248.6.166/data/wsf/index.asp,<br />
Principals will be notified of the file availability via an email from the CAS, or<br />
principals can check the site periodically in mid-October.<br />
Type of Computer and Version of Excel. The Financial Plan Template was<br />
programmed for Windows PCs with Excel XP, 2002, or 2003. If you have<br />
Macintosh computer, or an older version of Excel you will not be able to open the<br />
Financial Plan Template.<br />
Floating Toolbar. Click a button on the floating toolbar to:<br />
• Print All Sheets: Print the entire Financial Plan Template (all pages will be<br />
sequentially numbered)<br />
• Insert Certificated Row: Insert a new yellow row in the Certificated section<br />
• Insert SSP Row: Insert a new yellow row in the SSP section<br />
• Insert Classified Row: Insert a new yellow row in the Classified section<br />
• Insert A1 Row: Insert a new yellow row in the A1 (Casual/Hourly) section<br />
• Insert B Row: Insert a new yellow row in the B (Current Expenses)<br />
section<br />
• Insert C Row: Insert a new yellow row in the C (Equipment) section<br />
• Insert M Row: Insert a new yellow row in the M (Motor Vehicles) section<br />
• Clear Data: Clear all data from yellow cells, to “start from scratch”<br />
• Go to (various worksheets)<br />
• Submit to CAS: When the principal clicks this button, a User Name and<br />
Password will be required to prevent accidental submittal<br />
• Submit to Budget Branch: This button is only to be used by CASs; a User<br />
Name and Password will be required to verify the worksheet has been<br />
approved by the CAS<br />
The floating toolbar may be moved by dragging the blue bar at the top. It may<br />
be closed by clicking on the “X” in the upper right corner. To restore the<br />
floating toolbar after closing it, click on another worksheet, or click on View –<br />
Toolbars – Financial Plan.<br />
Draft Version 5.0 Page 44 of 64