Decking & Dryspace - Barker Lumber Co.
Decking & Dryspace - Barker Lumber Co.
Decking & Dryspace - Barker Lumber Co.

Create successful ePaper yourself
Turn your PDF publications into a flip-book with our unique Google optimized e-Paper software.
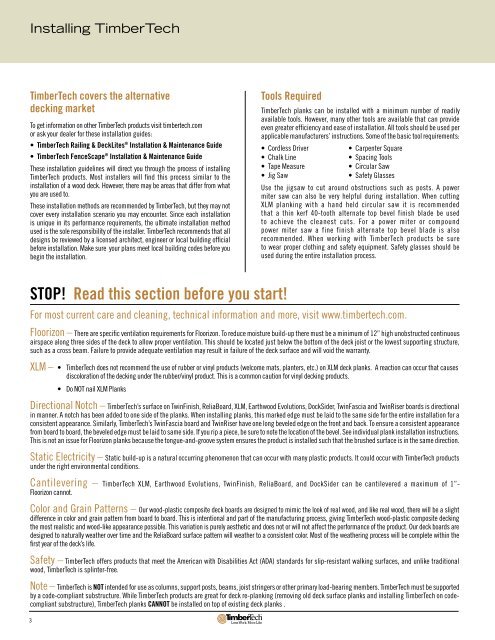
Installing TimberTech<br />
TimberTech covers the alternative<br />
decking market<br />
To get information on other TimberTech products visit timbertech.com<br />
or ask your dealer for these installation guides:<br />
• TimberTech Railing & DeckLites ® Installation & Maintenance Guide<br />
• TimberTech FenceScape ® Installation & Maintenance Guide<br />
These installation guidelines will direct you through the process of installing<br />
TimberTech products. Most installers will find this process similar to the<br />
installation of a wood deck. However, there may be areas that differ from what<br />
you are used to.<br />
These installation methods are recommended by TimberTech, but they may not<br />
cover every installation scenario you may encounter. Since each installation<br />
is unique in its performance requirements, the ultimate installation method<br />
used is the sole responsibility of the installer. TimberTech recommends that all<br />
designs be reviewed by a licensed architect, engineer or local building official<br />
before installation. Make sure your plans meet local building codes before you<br />
begin the installation.<br />
Tools Required<br />
TimberTech planks can be installed with a minimum number of readily<br />
available tools. However, many other tools are available that can provide<br />
even greater efficiency and ease of installation. All tools should be used per<br />
applicable manufacturers’ instructions. Some of the basic tool requirements:<br />
• <strong>Co</strong>rdless Driver<br />
• Carpenter Square<br />
• Chalk Line<br />
• Spacing Tools<br />
• Tape Measure<br />
• Circular Saw<br />
• Jig Saw<br />
• Safety Glasses<br />
Use the jigsaw to cut around obstructions such as posts. A power<br />
miter saw can also be very helpful during installation. When cutting<br />
XLM planking with a hand held circular saw it is recommended<br />
that a thin kerf 40-tooth alternate top bevel finish blade be used<br />
to achieve the cleanest cuts. For a power miter or compound<br />
power miter saw a fine finish alternate top bevel blade is also<br />
recommended. When working with TimberTech products be sure<br />
to wear proper clothing and safety equipment. Safety glasses should be<br />
used during the entire installation process.<br />
STOP! Read this section before you start!<br />
For most current care and cleaning, technical information and more, visit www.timbertech.com.<br />
Floorizon – There are specific ventilation requirements for Floorizon. To reduce moisture build-up there must be a minimum of 12” high unobstructed continuous<br />
airspace along three sides of the deck to allow proper ventilation. This should be located just below the bottom of the deck joist or the lowest supporting structure,<br />
such as a cross beam. Failure to provide adequate ventilation may result in failure of the deck surface and will void the warranty.<br />
XLM –<br />
Directional Notch – TimberTech’s surface on TwinFinish, ReliaBoard, XLM, Earthwood Evolutions, DockSider, TwinFascia and TwinRiser boards is directional<br />
in manner. A notch has been added to one side of the planks. When installing planks, this marked edge must be laid to the same side for the entire installation for a<br />
consistent appearance. Similarly, TimberTech’s TwinFascia board and TwinRiser have one long beveled edge on the front and back. To ensure a consistent appearance<br />
from board to board, the beveled edge must be laid to same side. If you rip a piece, be sure to note the location of the bevel. See individual plank installation instructions.<br />
This is not an issue for Floorizon planks because the tongue-and-groove system ensures the product is installed such that the brushed surface is in the same direction.<br />
Static Electricity – Static build-up is a natural occurring phenomenon that can occur with many plastic products. It could occur with TimberTech products<br />
under the right environmental conditions.<br />
Cantilevering – TimberTech XLM, Earthwood Evolutions, TwinFinish, ReliaBoard, and DockSider can be cantilevered a maximum of 1”-<br />
Floorizon cannot.<br />
<strong>Co</strong>lor and Grain Patterns – Our wood-plastic composite deck boards are designed to mimic the look of real wood, and like real wood, there will be a slight<br />
difference in color and grain pattern from board to board. This is intentional and part of the manufacturing process, giving TimberTech wood-plastic composite decking<br />
the most realistic and wood-like appearance possible. This variation is purely aesthetic and does not or will not affect the performance of the product. Our deck boards are<br />
designed to naturally weather over time and the ReliaBoard surface pattern will weather to a consistent color. Most of the weathering process will be complete within the<br />
first year of the deck’s life.<br />
Safety – TimberTech offers products that meet the American with Disabilities Act (ADA) standards for slip-resistant walking surfaces, and unlike traditional<br />
wood, TimberTech is splinter-free.<br />
Note – TimberTech is NOT intended for use as columns, support posts, beams, joist stringers or other primary load-bearing members. TimberTech must be supported<br />
by a code-compliant substructure. While TimberTech products are great for deck re-planking (removing old deck surface planks and installing TimberTech on codecompliant<br />
substructure), TimberTech planks CANNOT be installed on top of existing deck planks .<br />
3<br />
• TimberTech does not recommend the use of rubber or vinyl products (welcome mats, planters, etc.) on XLM deck planks. A reaction can occur that causes<br />
discoloration of the decking under the rubber/vinyl product. This is a common caution for vinyl decking products.<br />
• Do NOT nail XLM Planks