Desktop Video
Desktop Video
Desktop Video

You also want an ePaper? Increase the reach of your titles
YUMPU automatically turns print PDFs into web optimized ePapers that Google loves.
18<br />
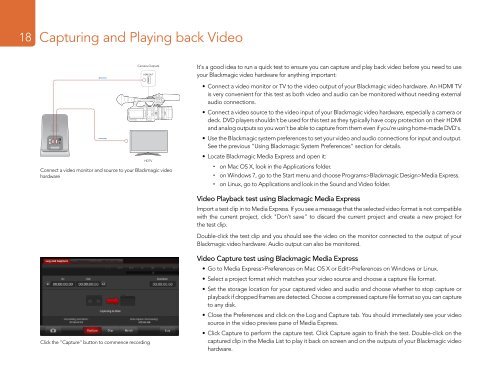
Capturing and Playing back <strong>Video</strong><br />
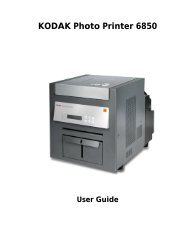
Camera Outputs<br />
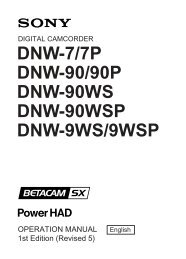
HDTV<br />
Connect a video monitor and source to your Blackmagic video<br />
hardware<br />
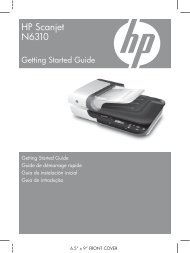
Click the "Capture" button to commence recording<br />
It's a good idea to run a quick test to ensure you can capture and play back video before you need to use<br />
your Blackmagic video hardware for anything important:<br />
• Connect a video monitor or TV to the video output of your Blackmagic video hardware. An HDMI TV<br />
is very convenient for this test as both video and audio can be monitored without needing external<br />
audio connections.<br />
• Connect a video source to the video input of your Blackmagic video hardware, especially a camera or<br />
deck. DVD players shouldn't be used for this test as they typically have copy protection on their HDMI<br />
and analog outputs so you won't be able to capture from them even if you're using home-made DVD's.<br />
• Use the Blackmagic system preferences to set your video and audio connections for input and output.<br />
See the previous "Using Blackmagic System Preferences" section for details.<br />
• Locate Blackmagic Media Express and open it:<br />
on Mac OS X, look in the Applications folder.<br />
on Windows 7, go to the Start menu and choose Programs>Blackmagic Design>Media Express.<br />
on Linux, go to Applications and look in the Sound and <strong>Video</strong> folder.<br />
<strong>Video</strong> Playback test using Blackmagic Media Express<br />
Import a test clip in to Media Express. If you see a message that the selected video format is not compatible<br />
with the current project, click "Don't save" to discard the current project and create a new project for<br />
the test clip.<br />
Double-click the test clip and you should see the video on the monitor connected to the output of your<br />
Blackmagic video hardware. Audio output can also be monitored.<br />
<strong>Video</strong> Capture test using Blackmagic Media Express<br />
• Go to Media Express>Preferences on Mac OS X or Edit>Preferences on Windows or Linux.<br />
• Select a project format which matches your video source and choose a capture file format.<br />
• Set the storage location for your captured video and audio and choose whether to stop capture or<br />
playback if dropped frames are detected. Choose a compressed capture file format so you can capture<br />
to any disk.<br />
• Close the Preferences and click on the Log and Capture tab. You should immediately see your video<br />
source in the video preview pane of Media Express.<br />
• Click Capture to perform the capture test. Click Capture again to finish the test. Double-click on the<br />
captured clip in the Media List to play it back on screen and on the outputs of your Blackmagic video<br />
hardware.