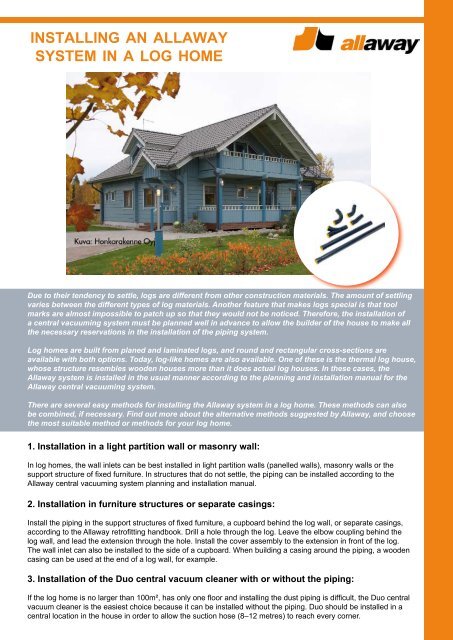
INSTALLING AN ALLAWAY SYSTEM IN A LOG HOME
INSTALLING AN ALLAWAY SYSTEM IN A LOG HOME
INSTALLING AN ALLAWAY SYSTEM IN A LOG HOME

You also want an ePaper? Increase the reach of your titles
YUMPU automatically turns print PDFs into web optimized ePapers that Google loves.
i n s t a l l i n g a n a l l a w a y<br />
s y s t e m in a l o g h o m e<br />
Due to their tendency to settle, logs are different from other construction materials. The amount of settling<br />
varies between the different types of log materials. Another feature that makes logs special is that tool<br />
marks are almost impossible to patch up so that they would not be noticed. Therefore, the installation of<br />
a central vacuuming system must be planned well in advance to allow the builder of the house to make all<br />
the necessary reservations in the installation of the piping system.<br />
Log homes are built from planed and laminated logs, and round and rectangular cross-sections are<br />
available with both options. Today, log-like homes are also available. One of these is the thermal log house,<br />
whose structure resembles wooden houses more than it does actual log houses. In these cases, the<br />
Allaway system is installed in the usual manner according to the planning and installation manual for the<br />
Allaway central vacuuming system.<br />
There are several easy methods for installing the Allaway system in a log home. These methods can also<br />
be combined, if necessary. Find out more about the alternative methods suggested by Allaway, and choose<br />
the most suitable method or methods for your log home.<br />
1. Installation in a light partition wall or masonry wall:<br />
In log homes, the wall inlets can be best installed in light partition walls (panelled walls), masonry walls or the<br />
support structure of fixed furniture. In structures that do not settle, the piping can be installed according to the<br />
Allaway central vacuuming system planning and installation manual.<br />
2. Installation in furniture structures or separate casings:<br />
Install the piping in the support structures of fixed furniture, a cupboard behind the log wall, or separate casings,<br />
according to the Allaway retrofitting handbook. Drill a hole through the log. Leave the elbow coupling behind the<br />
log wall, and lead the extension through the hole. Install the cover assembly to the extension in front of the log.<br />
The wall inlet can also be installed to the side of a cupboard. When building a casing around the piping, a wooden<br />
casing can be used at the end of a log wall, for example.<br />
3. Installation of the Duo central vacuum cleaner with or without the piping:<br />
If the log home is no larger than 100m², has only one floor and installing the dust piping is difficult, the Duo central<br />
vacuum cleaner is the easiest choice because it can be installed without the piping. Duo should be installed in a<br />
central location in the house in order to allow the suction hose (8–12 metres) to reach every corner.
4. Installation inside the interior log walls:<br />
Drill a ø70 mm hole in the logs for the dust pipe that leads to the wall inlet and<br />
the wall inlet elbow coupling. If necessary, this hole can fit a protective tubing for<br />
the low voltage lead. Drill a ø50 mm hole for the cover assembly and extension,<br />
if necessary, in the wall where the wall inlet is to be installed. The length of the<br />
extension is 13 cm. If necessary, several extensions can be used successively.<br />
Cut the extension to the suitable length. Ensure that the low voltage leads can be<br />
lead to the cover assembly.<br />
The wall inlet can also be installed in the end of a log or near the end, behind a<br />
grooved board embedding, or underneath a lining.<br />
The builder of the house can also drill the necessary holes in advance, which<br />
will significantly decrease the amount of work required on site. The reservations<br />
required for the dust piping system should be considered in the reservations for<br />
electric cables and HVAC systems.<br />
Please see the section on the settling of log walls at the end of these instructions.<br />
5. Installation in a wooden or concrete floor:<br />
The settling of the log walls does not need to be considered in floor installation. Floor installation is particularly<br />
suitable for cottages, for eample underneath a wooden floor. Install the wall inlets in partition walls or the floor.<br />
The RST wall inlet is the only wall inlet durable enough for floor installation. The plastic Classic wall inlet can be<br />
flush installed in floors, if it is located out of the way of everyday activities. In installations to concrete floors, the<br />
surface materials installed in the floor should be considered in order to ensure the correct installation height.<br />
For more information on floor installation, please refer to the Allaway Manta central vacuuming system planning and<br />
installation manual.<br />
6. Considering the settling of the log framework:<br />
Be sure to allow for settling of the log framework in the installation of the piping. A log wall sinks between 10 and 50<br />
mm for each metre in height, most of this occurring immediately after construction. Even when the logs are dried<br />
and the installation is careful, settling cannot be avoided in log structures due to drying and the compaction of the<br />
seams between the logs.<br />
The wall inlets and central unit are the fixed parts of the central vacuuming system. The settling of the log walls is<br />
considered through enabling the piping to move in critical areas.<br />
This can be done in the following ways, for example:<br />
Bending of single dust pipes:<br />
Attach the vertical pipes tightly. Support the pipes properly and align them perpendicular to the floor surface. Support the horizontal pipe line in<br />
the ceiling using metal clamps. The log wall will settle under the horizontal pipe lines.<br />
Rotation of the piping joints:<br />
The changing of an angle in a pipe line that leads to the side can be allowed using a 90° elbow or a Y branch and a 45° elbow. When the main<br />
line is located in the structure that settles, and the side line attached to a fixed studwork, the angle between the two can change.<br />
JYVÄSKYLÄ, F<strong>IN</strong>L<strong>AN</strong>D<br />
www.allaway.com, info@allaway.fi<br />
13075 rev01 en 02/2011