QUILTsocial | Issue 01 Fall 2014 Premiere Issue
Premiere issue of the FREE magazine for quilters! Follow our blog at www.QUILTsocial.com for daily tips, techniques, and patterns.
Premiere issue of the FREE magazine for quilters! Follow our blog at www.QUILTsocial.com for daily tips, techniques, and patterns.
You also want an ePaper? Increase the reach of your titles
YUMPU automatically turns print PDFs into web optimized ePapers that Google loves.
Quilted Wall Art<br />
Scrap Bin Diving Leads to Design<br />
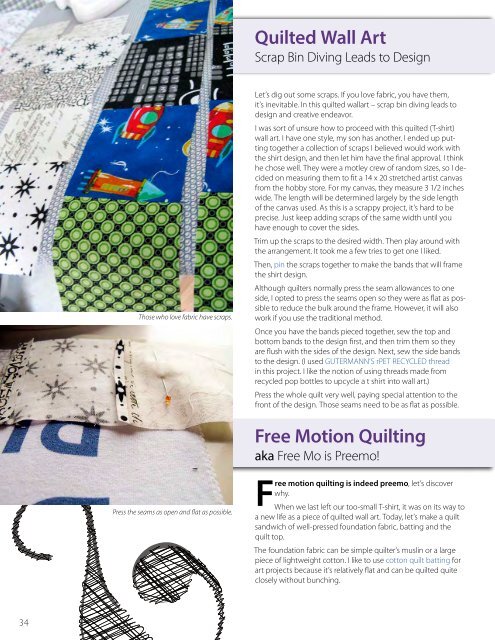
Those who love fabric have scraps.<br />
Let’s dig out some scraps. If you love fabric, you have them,<br />
it’s inevitable. In this quilted wallart – scrap bin diving leads to<br />
design and creative endeavor.<br />
I was sort of unsure how to proceed with this quilted (T-shirt)<br />
wall art. I have one style, my son has another. I ended up putting<br />
together a collection of scraps I believed would work with<br />
the shirt design, and then let him have the final approval. I think<br />
he chose well. They were a motley crew of random sizes, so I decided<br />
on measuring them to fit a 14 x 20 stretched artist canvas<br />
from the hobby store. For my canvas, they measure 3 1/2 inches<br />
wide. The length will be determined largely by the side length<br />
of the canvas used. As this is a scrappy project, it’s hard to be<br />
precise. Just keep adding scraps of the same width until you<br />
have enough to cover the sides.<br />
Trim up the scraps to the desired width. Then play around with<br />
the arrangement. It took me a few tries to get one I liked.<br />
Then, pin the scraps together to make the bands that will frame<br />
the shirt design.<br />
Although quilters normally press the seam allowances to one<br />
side, I opted to press the seams open so they were as flat as possible<br />
to reduce the bulk around the frame. However, it will also<br />
work if you use the traditional method.<br />
Once you have the bands pieced together, sew the top and<br />
bottom bands to the design first, and then trim them so they<br />
are flush with the sides of the design. Next, sew the side bands<br />
to the design. (I used GUTERMANN’S rPET RECYCLED thread<br />
in this project. I like the notion of using threads made from<br />
recycled pop bottles to upcycle a t shirt into wall art.)<br />
Press the whole quilt very well, paying special attention to the<br />
front of the design. Those seams need to be as flat as possible.<br />
Free Motion Quilting<br />
aka Free Mo is Preemo!<br />
Press the seams as open and flat as possible.<br />
Free motion quilting is indeed preemo, let’s discover<br />
why.<br />
When we last left our too-small T-shirt, it was on its way to<br />
a new life as a piece of quilted wall art. Today, let’s make a quilt<br />
sandwich of well-pressed foundation fabric, batting and the<br />
quilt top.<br />
The foundation fabric can be simple quilter’s muslin or a large<br />
piece of lightweight cotton. I like to use cotton quilt batting for<br />
art projects because it’s relatively flat and can be quilted quite<br />
closely without bunching.<br />
34


