How to build a cat enclosure - City of Tea Tree Gully
How to build a cat enclosure - City of Tea Tree Gully
How to build a cat enclosure - City of Tea Tree Gully

You also want an ePaper? Increase the reach of your titles
YUMPU automatically turns print PDFs into web optimized ePapers that Google loves.
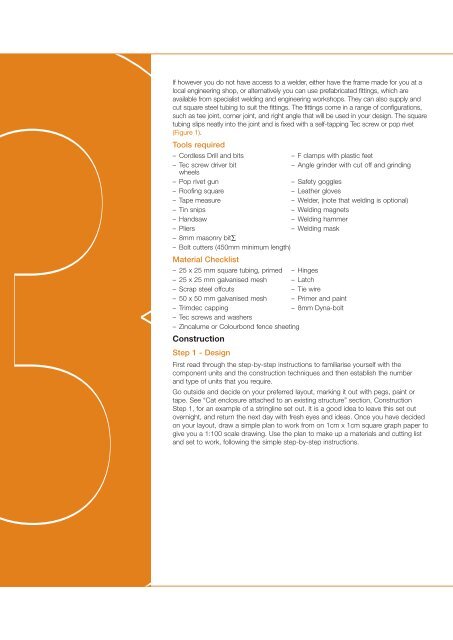
If however you do not have access <strong>to</strong> a welder, either have the frame made for you at alocal engineering shop, or alternatively you can use prefabri<strong>cat</strong>ed fittings, which areavailable from specialist welding and engineering workshops. They can also supply andcut square steel tubing <strong>to</strong> suit the fittings. The fittings come in a range <strong>of</strong> configurations,such as tee joint, corner joint, and right angle that will be used in your design. The squaretubing slips neatly in<strong>to</strong> the joint and is fixed with a self-tapping Tec screw or pop rivet(Figure 1).Tools required– Cordless Drill and bits – F clamps with plastic feet– Tec screw driver bit – Angle grinder with cut <strong>of</strong>f and grindingwheels– Pop rivet gun – Safety goggles– Ro<strong>of</strong>ing square – Leather gloves– Tape measure – Welder, (note that welding is optional)– Tin snips – Welding magnets– Handsaw – Welding hammer– Pliers – Welding mask– 8mm masonry bit∑– Bolt cutters (450mm minimum length)Material Checklist– 25 x 25 mm square tubing, primed – Hinges– 25 x 25 mm galvanised mesh – Latch– Scrap steel <strong>of</strong>fcuts – Tie wire– 50 x 50 mm galvanised mesh – Primer and paint– Trimdec capping – 8mm Dyna-bolt– Tec screws and washers– Zincalume or Colourbond fence sheetingConstructionStep 1 - DesignFirst read through the step-by-step instructions <strong>to</strong> familiarise yourself with thecomponent units and the construction techniques and then establish the numberand type <strong>of</strong> units that you require.Go outside and decide on your preferred layout, marking it out with pegs, paint ortape. See “Cat <strong>enclosure</strong> attached <strong>to</strong> an existing structure” section, ConstructionStep 1, for an example <strong>of</strong> a stringline set out. It is a good idea <strong>to</strong> leave this set ou<strong>to</strong>vernight, and return the next day with fresh eyes and ideas. Once you have decidedon your layout, draw a simple plan <strong>to</strong> work from on 1cm x 1cm square graph paper <strong>to</strong>give you a 1:100 scale drawing. Use the plan <strong>to</strong> make up a materials and cutting listand set <strong>to</strong> work, following the simple step-by-step instructions.