Hemmed Cuff Socks - Authentic Knitting board
Hemmed Cuff Socks - Authentic Knitting board
Hemmed Cuff Socks - Authentic Knitting board
- No tags were found...

Create successful ePaper yourself
Turn your PDF publications into a flip-book with our unique Google optimized e-Paper software.
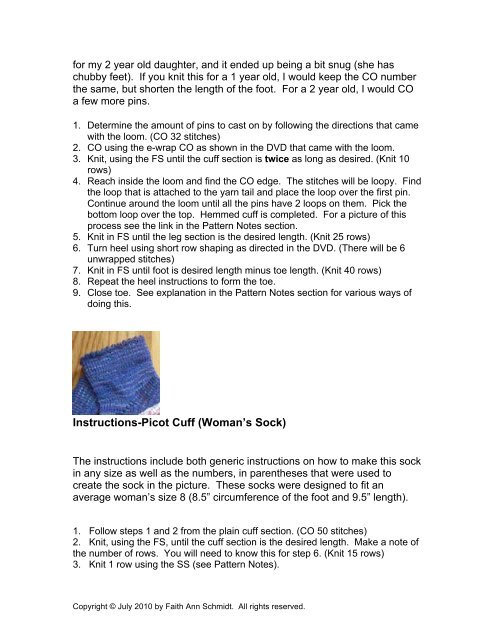
for my 2 year old daughter, and it ended up being a bit snug (she haschubby feet). If you knit this for a 1 year old, I would keep the CO numberthe same, but shorten the length of the foot. For a 2 year old, I would COa few more pins.1. Determine the amount of pins to cast on by following the directions that camewith the loom. (CO 32 stitches)2. CO using the e-wrap CO as shown in the DVD that came with the loom.3. Knit, using the FS until the cuff section is twice as long as desired. (Knit 10rows)4. Reach inside the loom and find the CO edge. The stitches will be loopy. Findthe loop that is attached to the yarn tail and place the loop over the first pin.Continue around the loom until all the pins have 2 loops on them. Pick thebottom loop over the top. <strong>Hemmed</strong> cuff is completed. For a picture of thisprocess see the link in the Pattern Notes section.5. Knit in FS until the leg section is the desired length. (Knit 25 rows)6. Turn heel using short row shaping as directed in the DVD. (There will be 6unwrapped stitches)7. Knit in FS until foot is desired length minus toe length. (Knit 40 rows)8. Repeat the heel instructions to form the toe.9. Close toe. See explanation in the Pattern Notes section for various ways ofdoing this.Instructions-Picot <strong>Cuff</strong> (Woman’s Sock)The instructions include both generic instructions on how to make this sockin any size as well as the numbers, in parentheses that were used tocreate the sock in the picture. These socks were designed to fit anaverage woman’s size 8 (8.5” circumference of the foot and 9.5” length).1. Follow steps 1 and 2 from the plain cuff section. (CO 50 stitches)2. Knit, using the FS, until the cuff section is the desired length. Make a note ofthe number of rows. You will need to know this for step 6. (Knit 15 rows)3. Knit 1 row using the SS (see Pattern Notes).Copyright © July 2010 by Faith Ann Schmidt. All rights reserved.