STEP 1– Stop recording system STEP 2 – Backup configuration files
STEP 1– Stop recording system STEP 2 – Backup configuration files
STEP 1– Stop recording system STEP 2 – Backup configuration files

You also want an ePaper? Increase the reach of your titles
YUMPU automatically turns print PDFs into web optimized ePapers that Google loves.
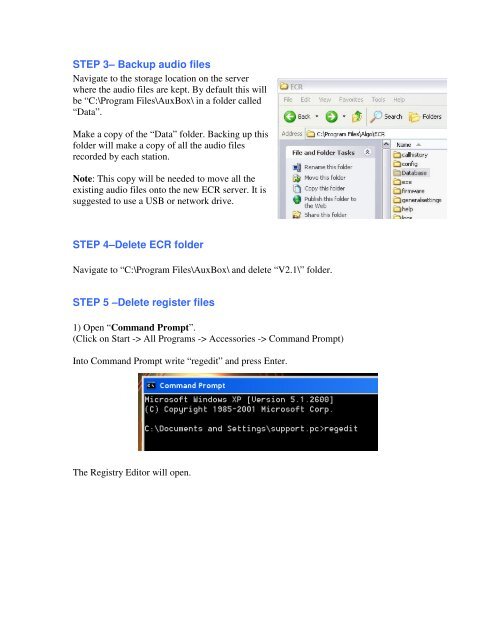
<strong>STEP</strong> 3<strong>–</strong> <strong>Backup</strong> audio <strong>files</strong>Navigate to the storage location on the serverwhere the audio <strong>files</strong> are kept. By default this willbe “C:\Program Files\AuxBox\ in a folder called“Data”.Make a copy of the “Data” folder. Backing up thisfolder will make a copy of all the audio <strong>files</strong>recorded by each station.Note: This copy will be needed to move all theexisting audio <strong>files</strong> onto the new ECR server. It issuggested to use a USB or network drive.<strong>STEP</strong> 4<strong>–</strong>Delete ECR folderNavigate to “C:\Program Files\AuxBox\ and delete “V2.1\” folder.<strong>STEP</strong> 5 <strong>–</strong>Delete register <strong>files</strong>1) Open “Command Prompt”.(Click on Start -> All Programs -> Accessories -> Command Prompt)Into Command Prompt write “regedit” and press Enter.The Registry Editor will open.