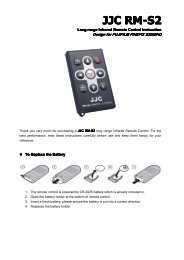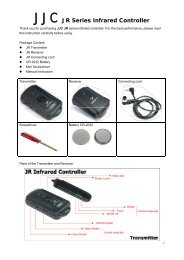
JJC RM-E2
JJC RM-E2
JJC RM-E2

You also want an ePaper? Increase the reach of your titles
YUMPU automatically turns print PDFs into web optimized ePapers that Google loves.
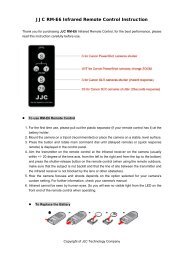
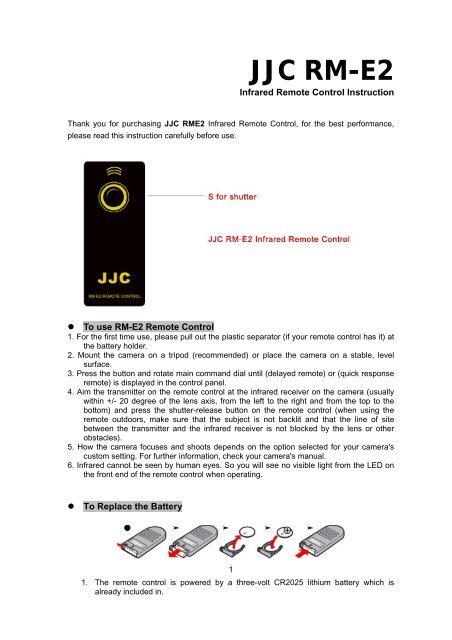
<strong>JJC</strong> <strong>RM</strong>-<strong>E2</strong><br />
Infrared Remote Control Instruction<br />
Thank you for purchasing <strong>JJC</strong> <strong>RM</strong><strong>E2</strong> Infrared Remote Control, for the best performance,<br />
please read this instruction carefully before use.<br />
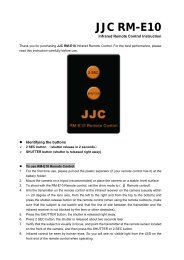
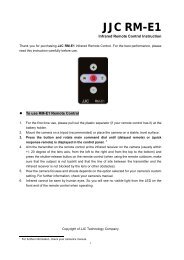
� To use <strong>RM</strong>-<strong>E2</strong> Remote Control<br />
1. For the first time use, please pull out the plastic separator (if your remote control has it) at<br />
the battery holder.<br />
2. Mount the camera on a tripod (recommended) or place the camera on a stable, level<br />
surface.<br />
3. Press the button and rotate main command dial until (delayed remote) or (quick response<br />
remote) is displayed in the control panel.<br />
4. Aim the transmitter on the remote control at the infrared receiver on the camera (usually<br />
within +/- 20 degree of the lens axis, from the left to the right and from the top to the<br />
bottom) and press the shutter-release button on the remote control (when using the<br />
remote outdoors, make sure that the subject is not backlit and that the line of site<br />
between the transmitter and the infrared receiver is not blocked by the lens or other<br />
obstacles).<br />
5. How the camera focuses and shoots depends on the option selected for your camera's<br />
custom setting. For further information, check your camera's manual.<br />
6. Infrared cannot be seen by human eyes. So you will see no visible light from the LED on<br />
the front end of the remote control when operating.<br />
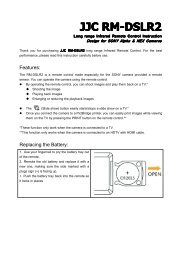
� To Replace the Battery<br />
1<br />
1. The remote control is powered by a three-volt CR2025 lithium battery which is<br />
already included in.
2. After sliding the latch in the direction shown to unlatch the battery holder, remove the<br />
holder.<br />
3. Remove the battery from the battery holder.<br />
4. Insert a fresh battery with the face marked "+" on top.<br />
5. Slide the battery holder into the remote until the latch clicks into place.<br />
� Specification<br />
� 100% compatible with Nikon MLL3 infrared remote controls..<br />
� Easytoreplace CR2025 lithium battery.<br />
� Operating temperature: 5 °C to 40 °C (40 °F to 105 °F).<br />
� Typical Battery Life: up to 3 years, 20,000 exposures.<br />
�<br />
1 When the remote control is not in used for an extend period of time, please remove<br />
the battery from the remote control.<br />
2 Do not leave the remote control in any places exposed to excessive heat, humidity<br />
3 Do not leave remote control on or near a television, refrigerator, or other appliance<br />
with a magnetic field.<br />
4 If the remote control gets wet, wipe it with a dry towel as soon as possible.<br />
5 Do not use organic solvents, such as alcohol or paint thinner when cleaning the<br />
remote control.<br />
Compatible with NIKON Cameras<br />
Digital SLR<br />
D3000<br />
D70<br />
D5000<br />
D60<br />
D90<br />
D50<br />
D80<br />
D40<br />
D70s<br />
D40x<br />
Film SLR F65 F75 N65 N75<br />
Coolpix 9000 8800 8400 P6000<br />
LiteTouch 150ED 140ED 130ED 110S 100W<br />
Nuvis Nuvis S<br />
Copyright of <strong>JJC</strong> Technology Company<br />
2