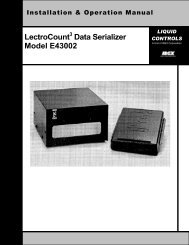
LectroCount Remote Display - Liquid Controls
LectroCount Remote Display - Liquid Controls
LectroCount Remote Display - Liquid Controls
- No tags were found...

You also want an ePaper? Increase the reach of your titles
YUMPU automatically turns print PDFs into web optimized ePapers that Google loves.
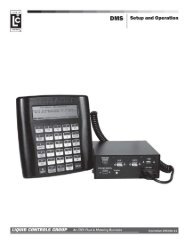
Installation<strong>Remote</strong> <strong>Display</strong> Shield Accessory (PN 81879)There are certain applications where sun or bright lightmay produce glare on the display. Use the optional shieldto reduce the effect of glare. This shield fits in place overthe <strong>LectroCount</strong> <strong>Remote</strong> <strong>Display</strong> as shown in Figure 6.The holes in the shield are slotted for ease of installation.Figure 6. <strong>Remote</strong> <strong>Display</strong> ShieldFigure 7. <strong>Remote</strong> <strong>Display</strong> Shield DimensionsNOTE: Dimensions shown in Inches (to obtain centimeters, multiply values shown by 2.54).Bolt & Torque SpecificationsIt may be necessary to open the <strong>Remote</strong> <strong>Display</strong> for thepurpose of changing the decimal point jumper setting(Page 8), or to connect wires to J1 or J2. There are 14bolts on the rear panel of the <strong>Remote</strong> <strong>Display</strong> which needto be removed to gain access to the printed circuit board(PCB). When work on the internal components iscomplete, the bolts need to be tightened to the propertorque specification and in the proper sequence to ensurethat the unit is resealed properly to prevent moisture fromentering.Insert each bolt and tighten by hand, then tighten thebolts according to the sequence show below. The boltsshould be tightened to 5-8 In. LBS. (80-128 In. Oz.)Figure 8. <strong>Remote</strong> <strong>Display</strong> Torque Pattern.7