ISSUE 3 : Mar/Apr - 1977 - Australian Defence Force Journal
ISSUE 3 : Mar/Apr - 1977 - Australian Defence Force Journal
ISSUE 3 : Mar/Apr - 1977 - Australian Defence Force Journal

Create successful ePaper yourself
Turn your PDF publications into a flip-book with our unique Google optimized e-Paper software.
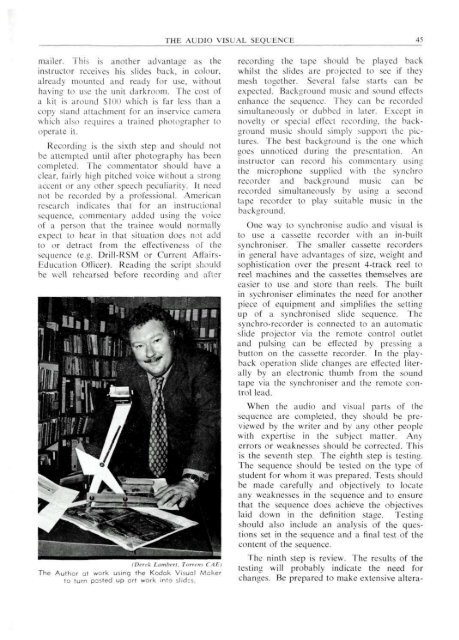
THE AUDIO VISUAL SEQUENCE 43mailer. This is another advantage as theinstructor receives his slides back, in colour,already mounted and ready for use, withouthaving to use the unit darkroom. The cost ofa kit is around $100 which is far less than acopy stand attachment for an inservice camerawhich also requires a trained photographer tooperate it.Recording is the sixth step and should notbe attempted until after photography has beencompleted. The commentator should have aclear, fairly high pitched voice without a strongaccent or any other speech peculiarity. It neednot be recorded by a professional. Americanresearch indicates that for an instructionalsequence, commentary added using the voiceof a person that the trainee would normallyexpect to hear in that situation does not addto or detract from the effectiveness of thesequence (e.g. Drill-RSM or Current Affairs-Education Officer). Reading the script shouldbe well rehearsed before recording and afterI), I k I .tmh, it 1„r>, „, ( ItThe Author at work using the Kodak Visual Makerto turn pasted up art work into slides.recording the tape should be played backwhilst the slides are projected to see if theymesh together. Several false starts can beexpected. Background music and sound effectsenhance the sequence. They can be recordedsimultaneously or dubbed in later. Except innovelty or special effect recording, the backgroundmusic should simply support the pictures.The best background is the one whichgoes unnoticed during the presentation. Aninstructor can record his commentary usingthe microphone supplied with the synchrorecorder and background music can berecorded simultaneously by using a secondtape recorder to play suitable music in thebackground.One way to synchronise audio and visual isto use a cassette recorder with an in-builtsynchroniser. The smaller cassette recordersin general have advantages of size, weight andsophistication over the present 4-track reel toreel machines and the cassettes themselves areeasier to use and store than reels. The builtin sychroniser eliminates the need for anotherpiece of equipment and simplifies the settingup of a synchronised slide sequence. Thesynchro-recorder is connected to an automaticslide projector via the remote control outletand pulsing can be effected by pressing abutton on the cassette recorder. In the playbackoperation slide changes are effected literallyby an electronic thumb from the soundtape via the synchroniser and the remote controllead.When the audio and visual parts of thesequence are completed, they should be previewedby the writer and by any other peoplewith expertise in the subject matter. Anyerrors or weaknesses should be corrected. Thisis the seventh step. The eighth step is testing.The sequence should be tested on the type ofstudent for whom it was prepared. Tests shouldbe made carefully and objectively to locateany weaknesses in the sequence and to ensurethat the sequence does achieve the objectiveslaid down in the definition stage. Testingshould also include an analysis of the questionsset in the sequence and a final test of thecontent of the sequence.The ninth step is review. The results of thetesting will probably indicate the need forchanges. Be prepared to make extensive altera-