How to configure SIP using STC ALP
How to configure SIP using STC ALP - Spirent Knowledge Base
How to configure SIP using STC ALP - Spirent Knowledge Base
- No tags were found...

You also want an ePaper? Increase the reach of your titles
YUMPU automatically turns print PDFs into web optimized ePapers that Google loves.
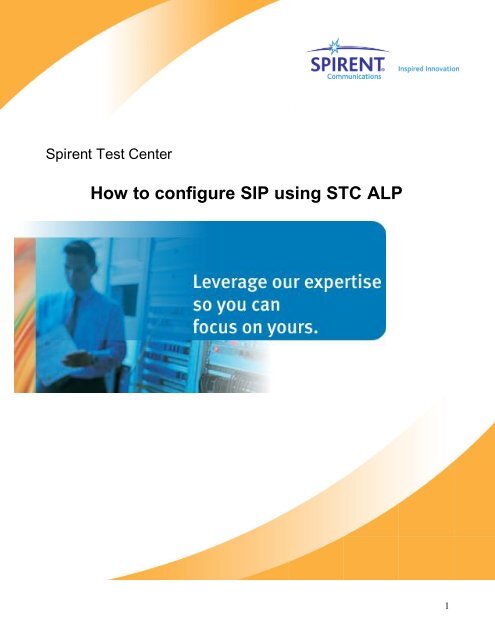
Spirent Test Center<br />
<strong>How</strong> <strong>to</strong> <strong>configure</strong> <strong>SIP</strong> <strong>using</strong> <strong>STC</strong> <strong>ALP</strong><br />
1
1. Introduction <strong>to</strong> <strong>SIP</strong><br />
The Session Initiation Pro<strong>to</strong>col (<strong>SIP</strong>) is an application-layer control pro<strong>to</strong>col that can<br />
establish, modify, and terminate sessions such as Internet telephony calls and multimedia<br />
conferences. In the Spirent TestCenter implementation, voice data is carried in Real-time<br />
Transfer Pro<strong>to</strong>col (RTP) data streams over UDP.<br />
The Spirent TestCenter <strong>SIP</strong> Base Package can emulate thousands of telephone calls per<br />
port.<br />
2. Configuring <strong>SIP</strong><br />
1) In the system tree at the left of the Test Configuration window, select Devices under a<br />
port node or All Devices. If the <strong>SIP</strong> tab is not available, use the Technology Selec<strong>to</strong>r <strong>to</strong><br />
enable it.<br />
2) Reserve and <strong>configure</strong> one or more test ports.<br />
2
3) Create a block of devices <strong>using</strong> the Create Devices Wizard.<br />
4) In the Application Layer Pro<strong>to</strong>cols step, select the Launch Application Layer Wizard<br />
checkbox. The Application Layer Wizard au<strong>to</strong>matically appears after the emulated<br />
devices are created.<br />
3
5) In the Application Layer Wizard, <strong>configure</strong> the <strong>SIP</strong> UA call pairs. Alternatively, you can<br />
also bring up this wizard by selecting Wizards in the main <strong>to</strong>olbar, expanding the<br />
Traffic tree, and then selecting Application Layer Wizard.<br />
6) Create the <strong>SIP</strong> UA profile. Click the All Profiles node in the system tree, and then click<br />
the <strong>SIP</strong> User Agent tab <strong>to</strong> add profiles for <strong>SIP</strong>.<br />
4
7) Create the Load profile. Click the All Profiles node in the system tree, and then click<br />
the Load Profiles tab <strong>to</strong> add load profiles<br />
8) Run the test. Click the All Devices node in the system tree. Click the <strong>SIP</strong> tab, select the<br />
device <strong>to</strong> test, and then run the test as follows:<br />
Click the (Register User) but<strong>to</strong>n <strong>to</strong> register the UAs<br />
Click the (Cancel Register) but<strong>to</strong>n <strong>to</strong> cancel the Register command<br />
Click the (Start Call) but<strong>to</strong>n <strong>to</strong> start call sessions between the UAs<br />
Click the (S<strong>to</strong>p Call) but<strong>to</strong>n <strong>to</strong> s<strong>to</strong>p the calls in progress<br />
Click the (Unregister User) but<strong>to</strong>n <strong>to</strong> unregister the already-registered UAs<br />
9) View the results. If Results Browser is not currently displayed, use View > Results<br />
Browser <strong>to</strong> bring up Results Browser, which displays real-time test results.<br />
10) Click Change Result View > Select View > Application Layer Pro<strong>to</strong>cols > <strong>SIP</strong> > Port<br />
Results for port statistics. See <strong>SIP</strong> Port Results for a description of the results, or click<br />
Change Result View > Select View > Application Layer Pro<strong>to</strong>cols > <strong>SIP</strong> > UA Results<br />
for UA statistics. See <strong>SIP</strong> UA Results for a description of the results.<br />
5