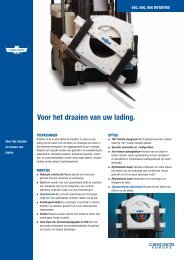
150H Fork Positioner - Cascade Corporation
150H Fork Positioner - Cascade Corporation
150H Fork Positioner - Cascade Corporation

You also want an ePaper? Increase the reach of your titles
YUMPU automatically turns print PDFs into web optimized ePapers that Google loves.
S<br />
ERVICE<br />
5.2 Valve<br />
5.2-1 Valve Removal<br />
WARNING: Before servicing any hydraulic<br />
component, relieve pressure in the system.<br />
Turn the truck off and move the truck<br />
auxiliary control valves several times in<br />
both directions.<br />
1 Disconnect the hoses from the valve. Tag hoses for<br />
reassembly.<br />
2 Disconnect the tubing at the bottom of the valve. Plug<br />
the tubing ends.<br />
3 Remove the capscrews fastening the valve to the<br />
frame and remove the valve. For reassembly, tighten<br />
the capscrews to 15 ft.-lbs. (22 Nm).<br />
4 For reassembly, reverse the above procedures with<br />
the following exceptions:<br />
• Service the valve as described in Section 5.2-2.<br />
5.2-2 Valve Service<br />
IMPORTANT: Service the valve in a clean work area.<br />
1 Remove the valve from the <strong>Fork</strong> <strong>Positioner</strong> as described<br />
in Section 5.2.1.<br />
2 Remove the crossover relief valve cartridges from the<br />
valve. Remove the O-rings and back-up rings from the<br />
cartridges.<br />
3 Remove the fittings from the valve.<br />
4 Clean all parts with solvent.<br />
5 For reassembly, reverse the above procedures with<br />
the following exceptions:<br />
• Replace O-rings and back-up rings on relief valve<br />
cartridges as shown.<br />
5<br />
FP0514.ill<br />
O-Rings (2)<br />
Back-Up Rings (2)<br />
CROSSOVER RELIEF CARTRIDGE<br />
Crossover Relief<br />
Valve Cartridge (2)<br />
18 219473 Rev. 1<br />
Valve<br />
3<br />
FP0438.ill<br />
Body<br />
FP0513.ill<br />
2