CVS 1000R Electro-Pneumatic Rotary Positioner - CVS Controls
CVS 1000R Electro-Pneumatic Rotary Positioner - CVS Controls
CVS 1000R Electro-Pneumatic Rotary Positioner - CVS Controls

You also want an ePaper? Increase the reach of your titles
YUMPU automatically turns print PDFs into web optimized ePapers that Google loves.
4<br />
<strong>CVS</strong> <strong>Controls</strong> Ltd.<br />
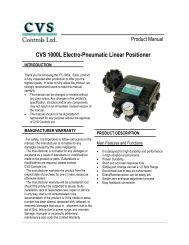
Product Manual: <strong>Electro</strong>-<strong>Pneumatic</strong> <strong>Positioner</strong> YT-<strong>1000R</strong><br />
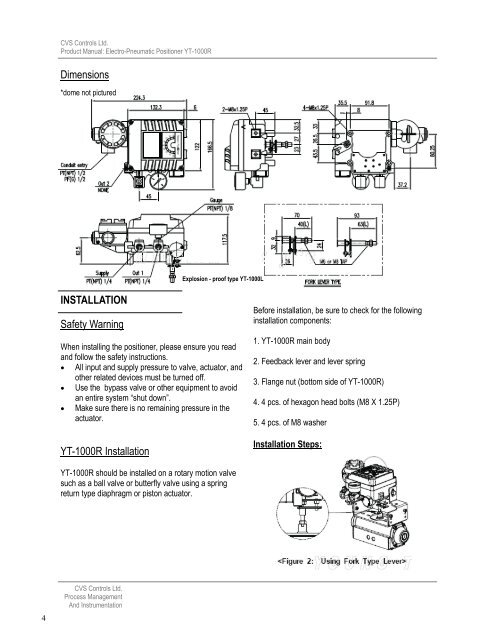
Dimensions<br />
*dome not pictured<br />
Dimensions<br />
INSTALLATION<br />
Safety Warning<br />
<strong>CVS</strong> <strong>Controls</strong> Ltd.<br />
Process Management<br />
And Instrumentation<br />
Explosion - proof type YT-1000L<br />
When installing the positioner, please ensure you read<br />
and follow the safety instructions.<br />
�� All input and supply pressure to valve, actuator, and<br />
other related devices must be turned off.<br />
�� Use the bypass valve or other equipment to avoid<br />
an entire system “shut down”.<br />
�� Make sure there is no remaining pressure in the<br />
actuator.<br />
YT-<strong>1000R</strong> Installation<br />
YT-<strong>1000R</strong> should be installed on a rotary motion valve<br />
such as a ball valve or butterfly valve using a spring<br />
return type diaphragm or piston actuator.<br />
Before installation, be sure to check for the following<br />
installation components:<br />
1. YT-<strong>1000R</strong> main body<br />
2. Feedback lever and lever spring<br />
3. Flange nut (bottom side of YT-<strong>1000R</strong>)<br />
4. 4 pcs. of hexagon head bolts (M8 X 1.25P)<br />
5. 4 pcs. of M8 washer<br />
Installation Steps: