
Create successful ePaper yourself
Turn your PDF publications into a flip-book with our unique Google optimized e-Paper software.
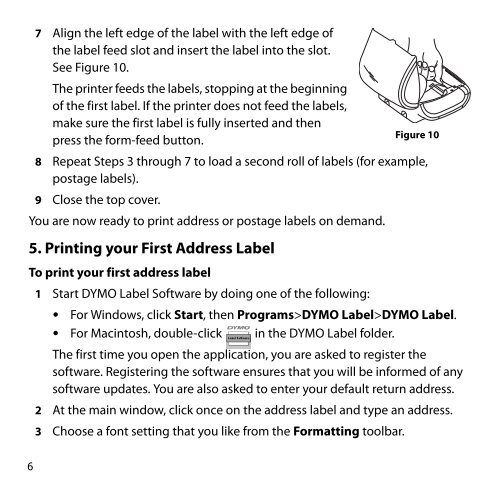
7 Align the left edge of the label with the left edge of<br />
the label feed slot and insert the label into the slot.<br />
See Figure 10.<br />
The printer feeds the labels, stopping at the beginning<br />
of the first label. If the printer does not feed the labels,<br />
make sure the first label is fully inserted and then<br />
Figure 10<br />
press the form-feed button.<br />
8 Repeat Steps 3 through 7 to load a second roll of labels (for example,<br />
postage labels).<br />
9 Close the top cover.<br />
You are now ready to print address or postage labels on demand.<br />
5. Printing your First Address Label<br />
To print your first address label<br />
1 <strong>Start</strong> DYMO Label Software by doing one of the following:<br />
• For Windows, click <strong>Start</strong>, then Programs>DYMO Label>DYMO Label.<br />
• For Macintosh, double-click in the DYMO Label folder.<br />
The first time you open the application, you are asked to register the<br />
software. Registering the software ensures that you will be informed of any<br />
software updates. You are also asked to enter your default return address.<br />
6<br />
2 At the main window, click once on the address label and type an address.<br />
3 Choose a font setting that you like from the Formatting toolbar.