Kitchen Range - Wickes
Kitchen Range - Wickes
Kitchen Range - Wickes

You also want an ePaper? Increase the reach of your titles
YUMPU automatically turns print PDFs into web optimized ePapers that Google loves.
Section 6: Finishing Touches - Door Installation<br />
Please spend 5 minutes reading this section after the units have been<br />
assembled and fitted but before you start to fit the doors.<br />
Unpacking<br />
The doors, drawer fronts and some accessories of your new kitchen are manufactured from carefully<br />
selected solid timber/veneers of the finest quality.<br />
As with most things in nature, there is a degree of variation in both colour and graining. These<br />
differences are part of the special character and beauty of wood, differences which make a wood<br />
kitchen such a desirable product.<br />
Any large differences in tone apparent when your kitchen is first unpacked will diminish over a few<br />
months as the timber mellows with exposure to daylight to give a natural uniformity.<br />
Installation<br />
For the best results, the doors and drawer fronts should be checked together. After unpacking, and<br />
before installing doors and drawers, it is recommend that they are placed against their respective units,<br />
in order to judge the final effect. Reposition any items to obtain the most even match.<br />
Note: It is not advisable to fit timber doors in newly constructed or recently plastered rooms. A high<br />
moisture content in the environment may cause the doors to swell and split. It is recommended that<br />
doors are stored outside the kitchen until the room has dried out thoroughly.<br />
Hinges and Drawers<br />
For timber doors, drawer fronts and accessories<br />
Once you are happy with the overall effect, fit the hinges and drawer boxes. Attach doors and drawers<br />
to the cabinets taking care not to damage the lacquered surfaces. When all items are installed and you<br />
have checked the results, attach the handles.<br />
Handles<br />
Check one more time before drilling, place a piece of scrap wood behind the hole to prevent splintering<br />
then using a 5mm drill, carefully drill through. Fit handles taking care not to let the screwdriver slip. See<br />
inside this leaflet for more information.<br />
Please note: Any doors or drawer fronts which have been fitted with hinges or drilled for handles cannot<br />
be returned to the supplier.<br />
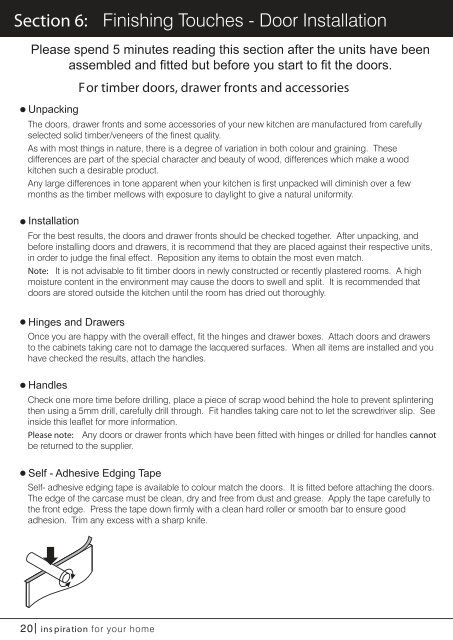
Self - Adhesive Edging Tape<br />
Self- adhesive edging tape is available to colour match the doors. It is fitted before attaching the doors.<br />
The edge of the carcase must be clean, dry and free from dust and grease. Apply the tape carefully to<br />
the front edge. Press the tape down firmly with a clean hard roller or smooth bar to ensure good<br />
adhesion. Trim any excess with a sharp knife.<br />
20 inspiration for your home
![To-Order Kitchens [PDF] - Wickes](https://img.yumpu.com/30243922/1/184x260/to-order-kitchens-pdf-wickes.jpg?quality=85)